Center Console Armrest Gas Strut Replacement
I bought this car when it was nearly 20 years old and I don’t always know how things are supposed to work, so I am unaware they need repaired.
For example, I was looking at R230 related videos when I came across this one talking about the “center console armrest gas strut replacement”.
Like many cars, the Banana has a center console armrest with storage. In fact there are two compartments. One holds the electronics for the bluetooth phone adapter and the other provides storage for things like sunglasses.
It is kind of a pain to access as the armrest is a little heavy, but if you pull it all the way up, like to 90 degrees, it will latch and stay.
Watching the video there is supposed to be a working gas strut that assists in opening it and holding it up. Since it seemed to be a repair about my speed (i.e. simple) I decided to attempt it.
In the video comments it says the replacement strut is $70 but when I went to Amazon it was only $18, so I went for it.
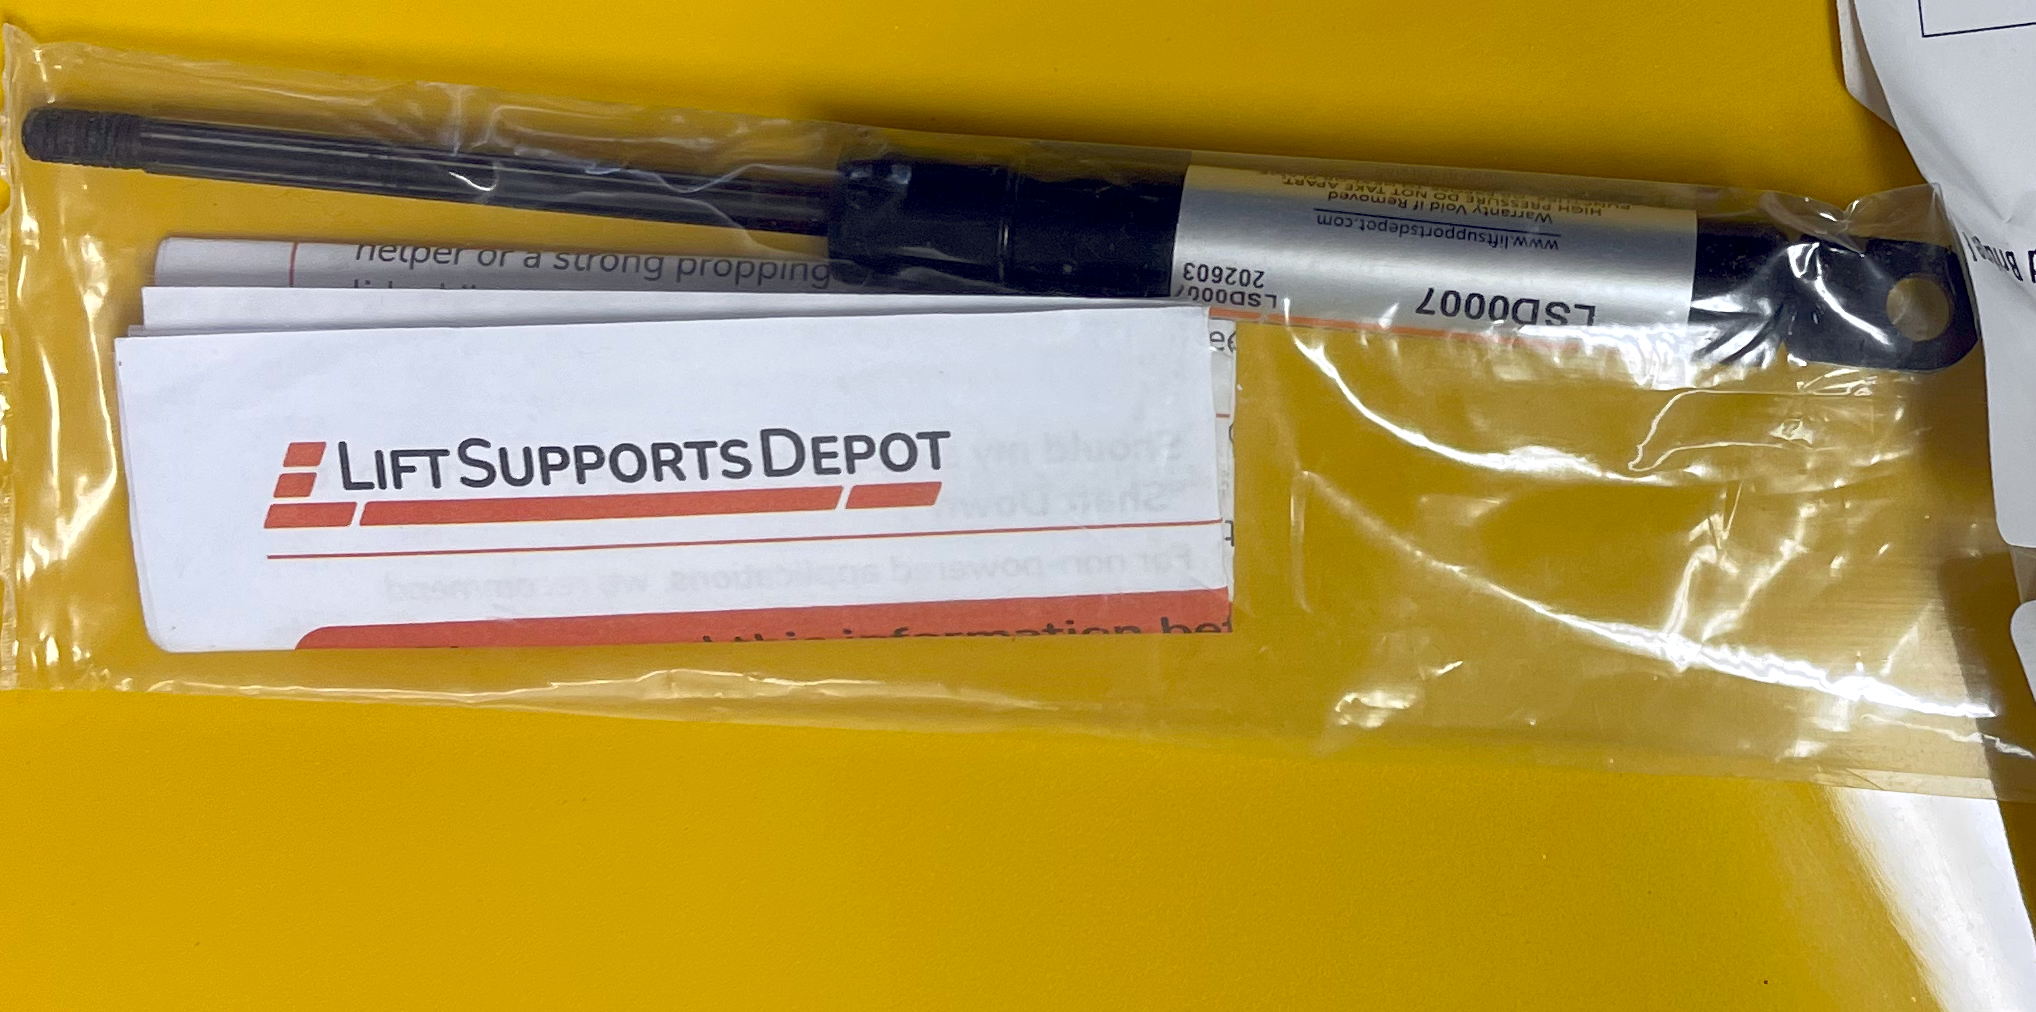
It was an easy repair except for one part of the process.
One of the nice things about owning a convertible is that it makes working on some parts of the interior easy. I dropped the top and then took everything out of the console. In the back there were two screws.
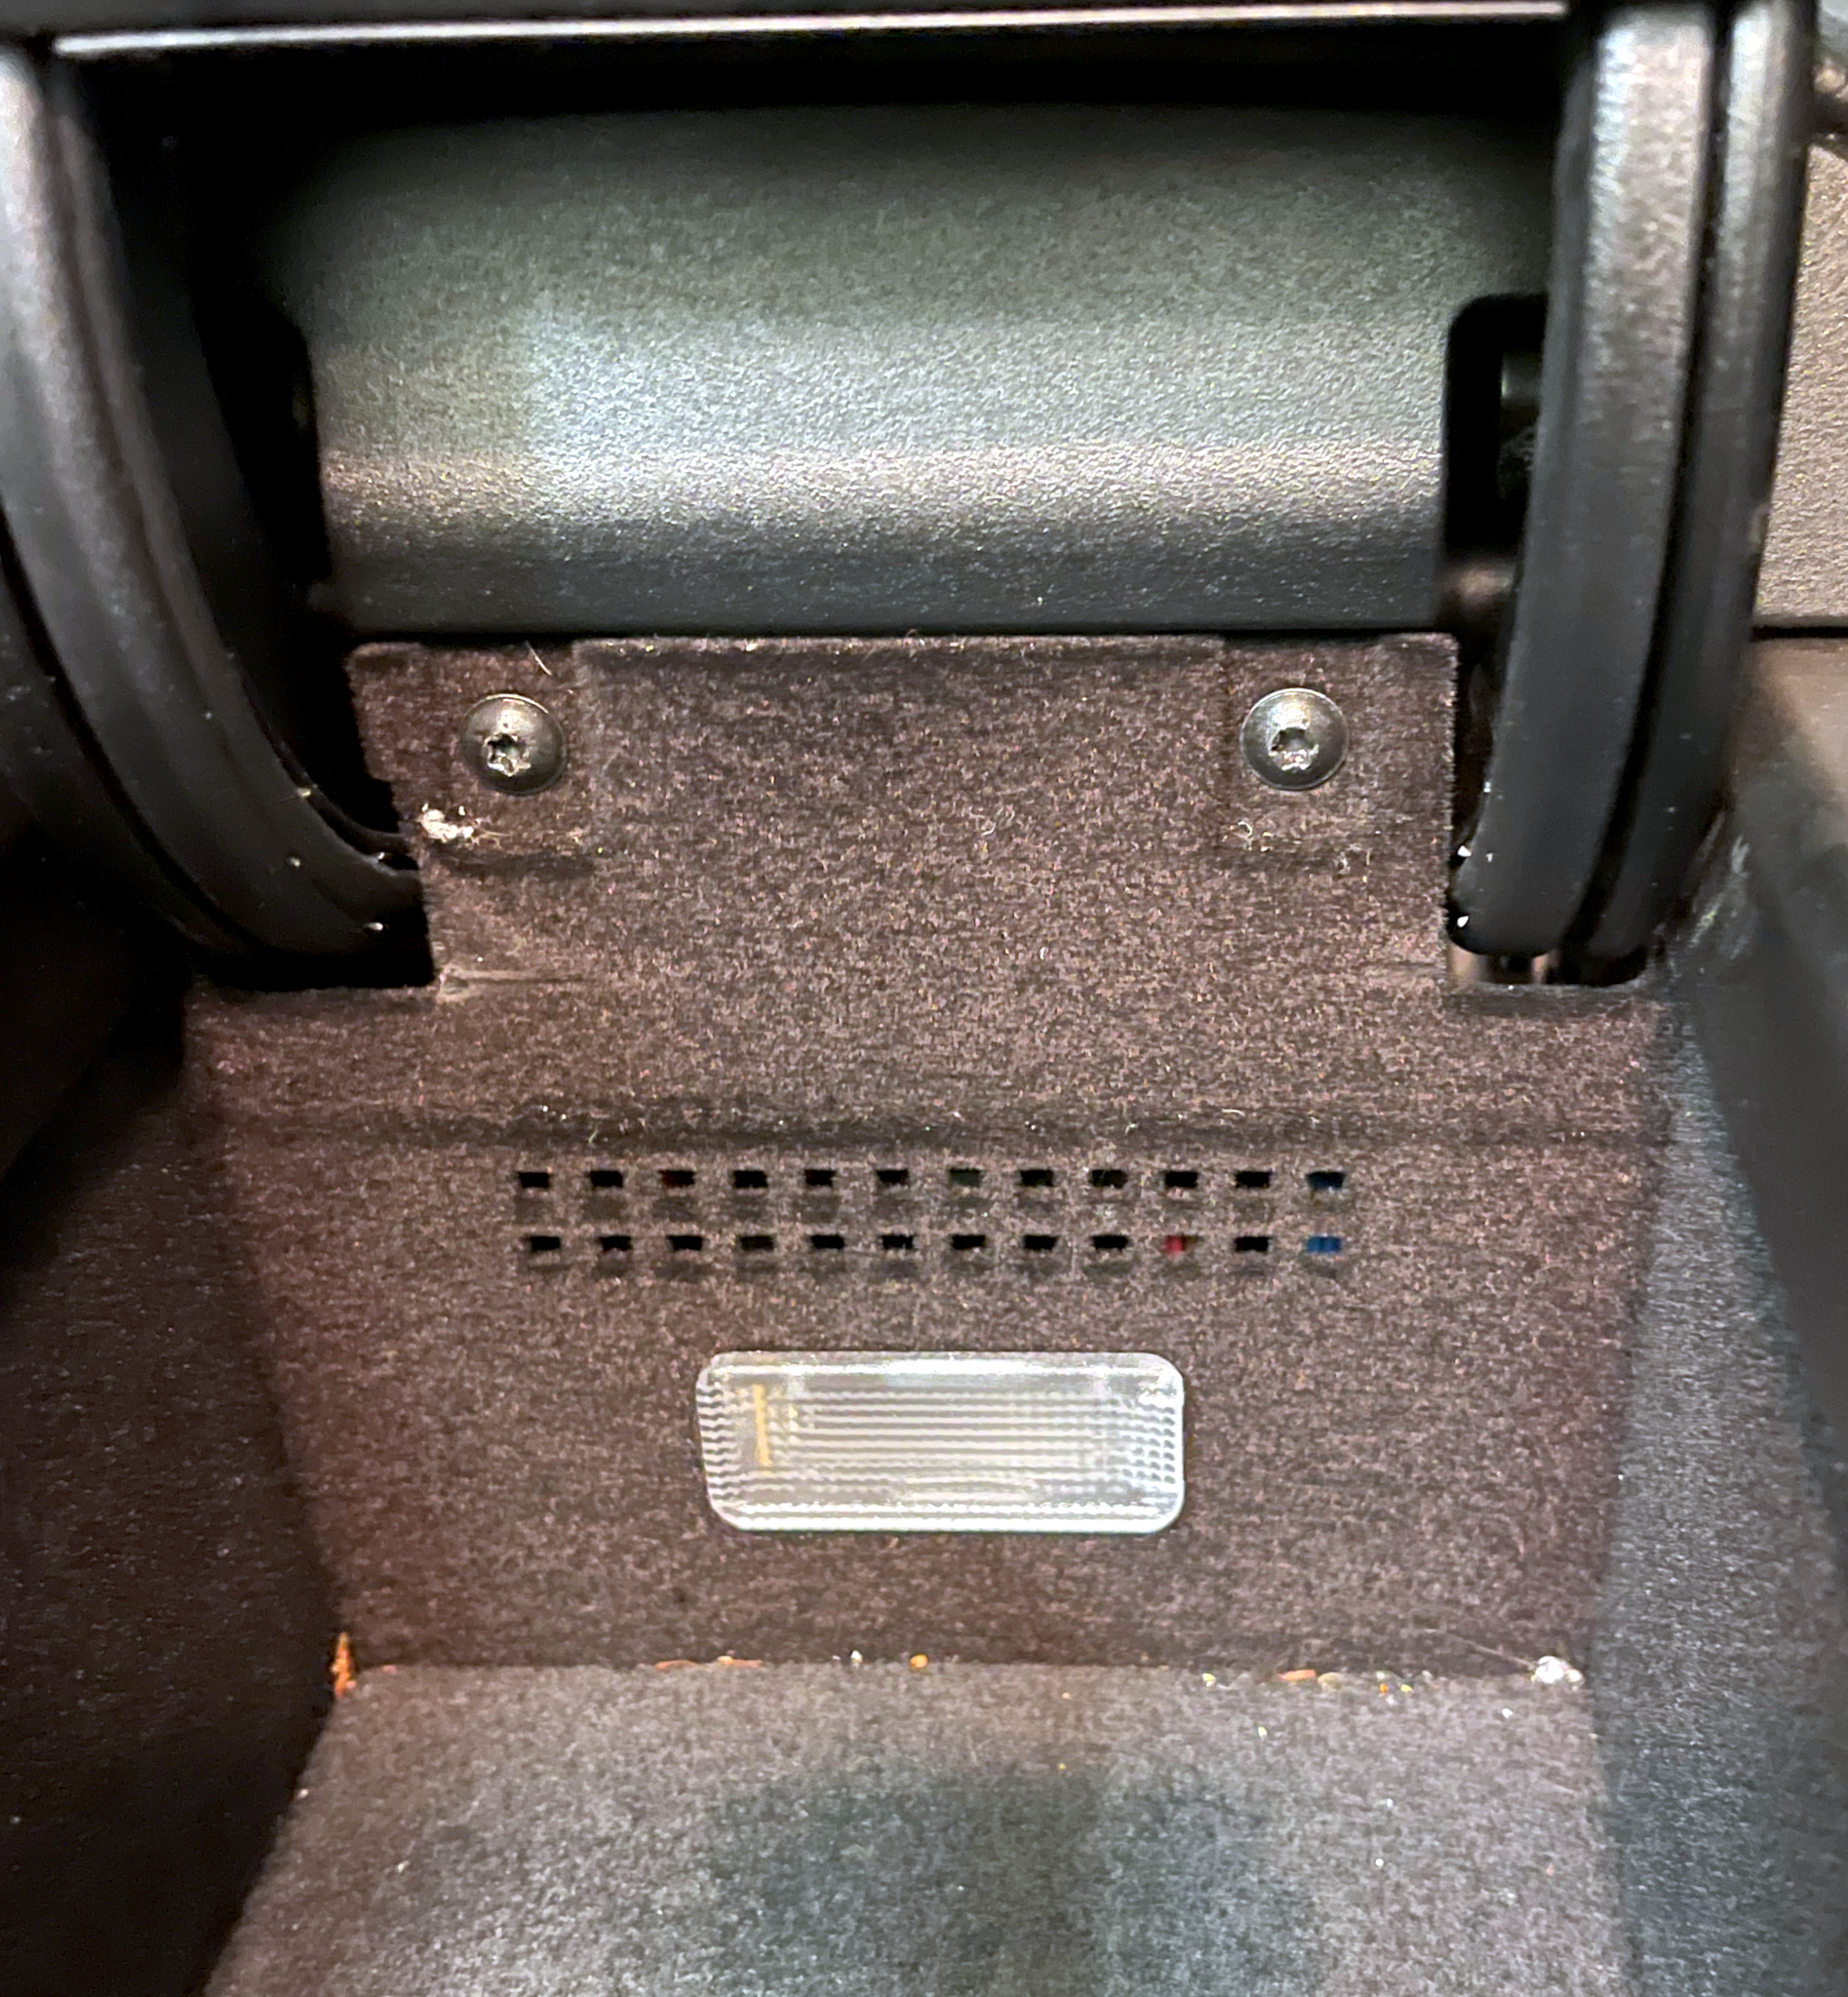
Using a T20 screwdriver I removed them.
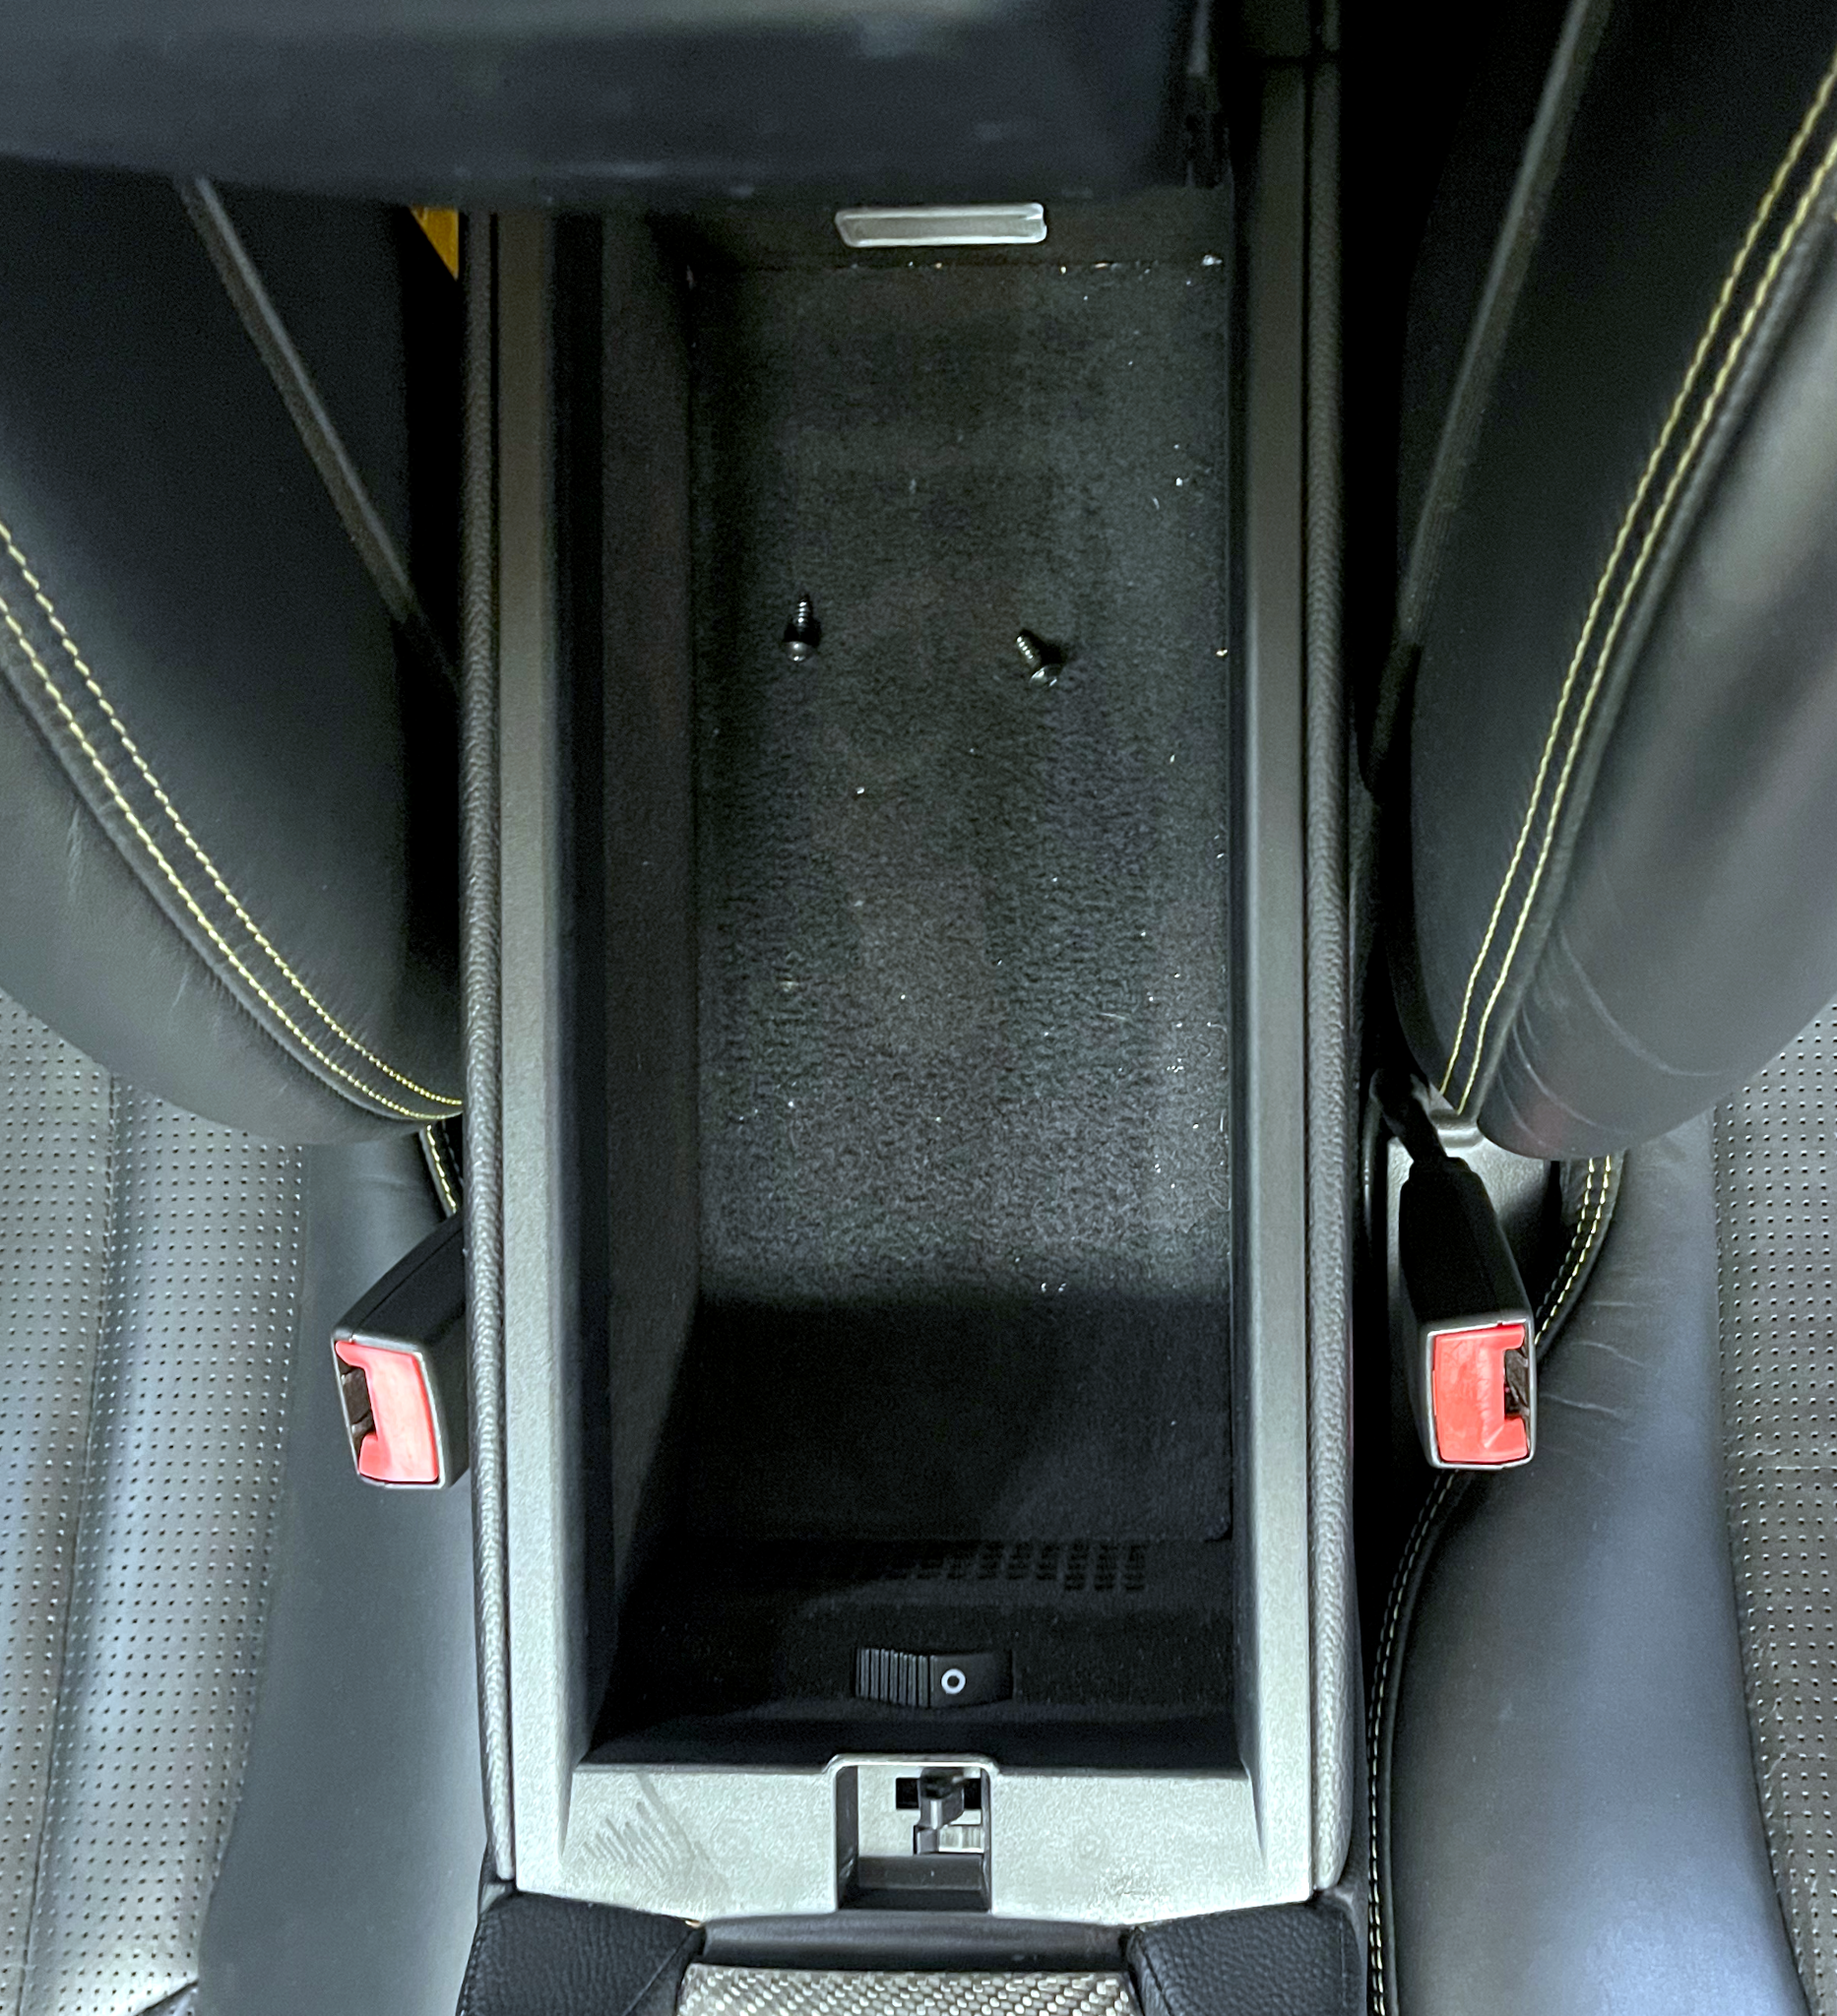
and then the rear panel was easy to lift out (start from the edge closest to the armrest).
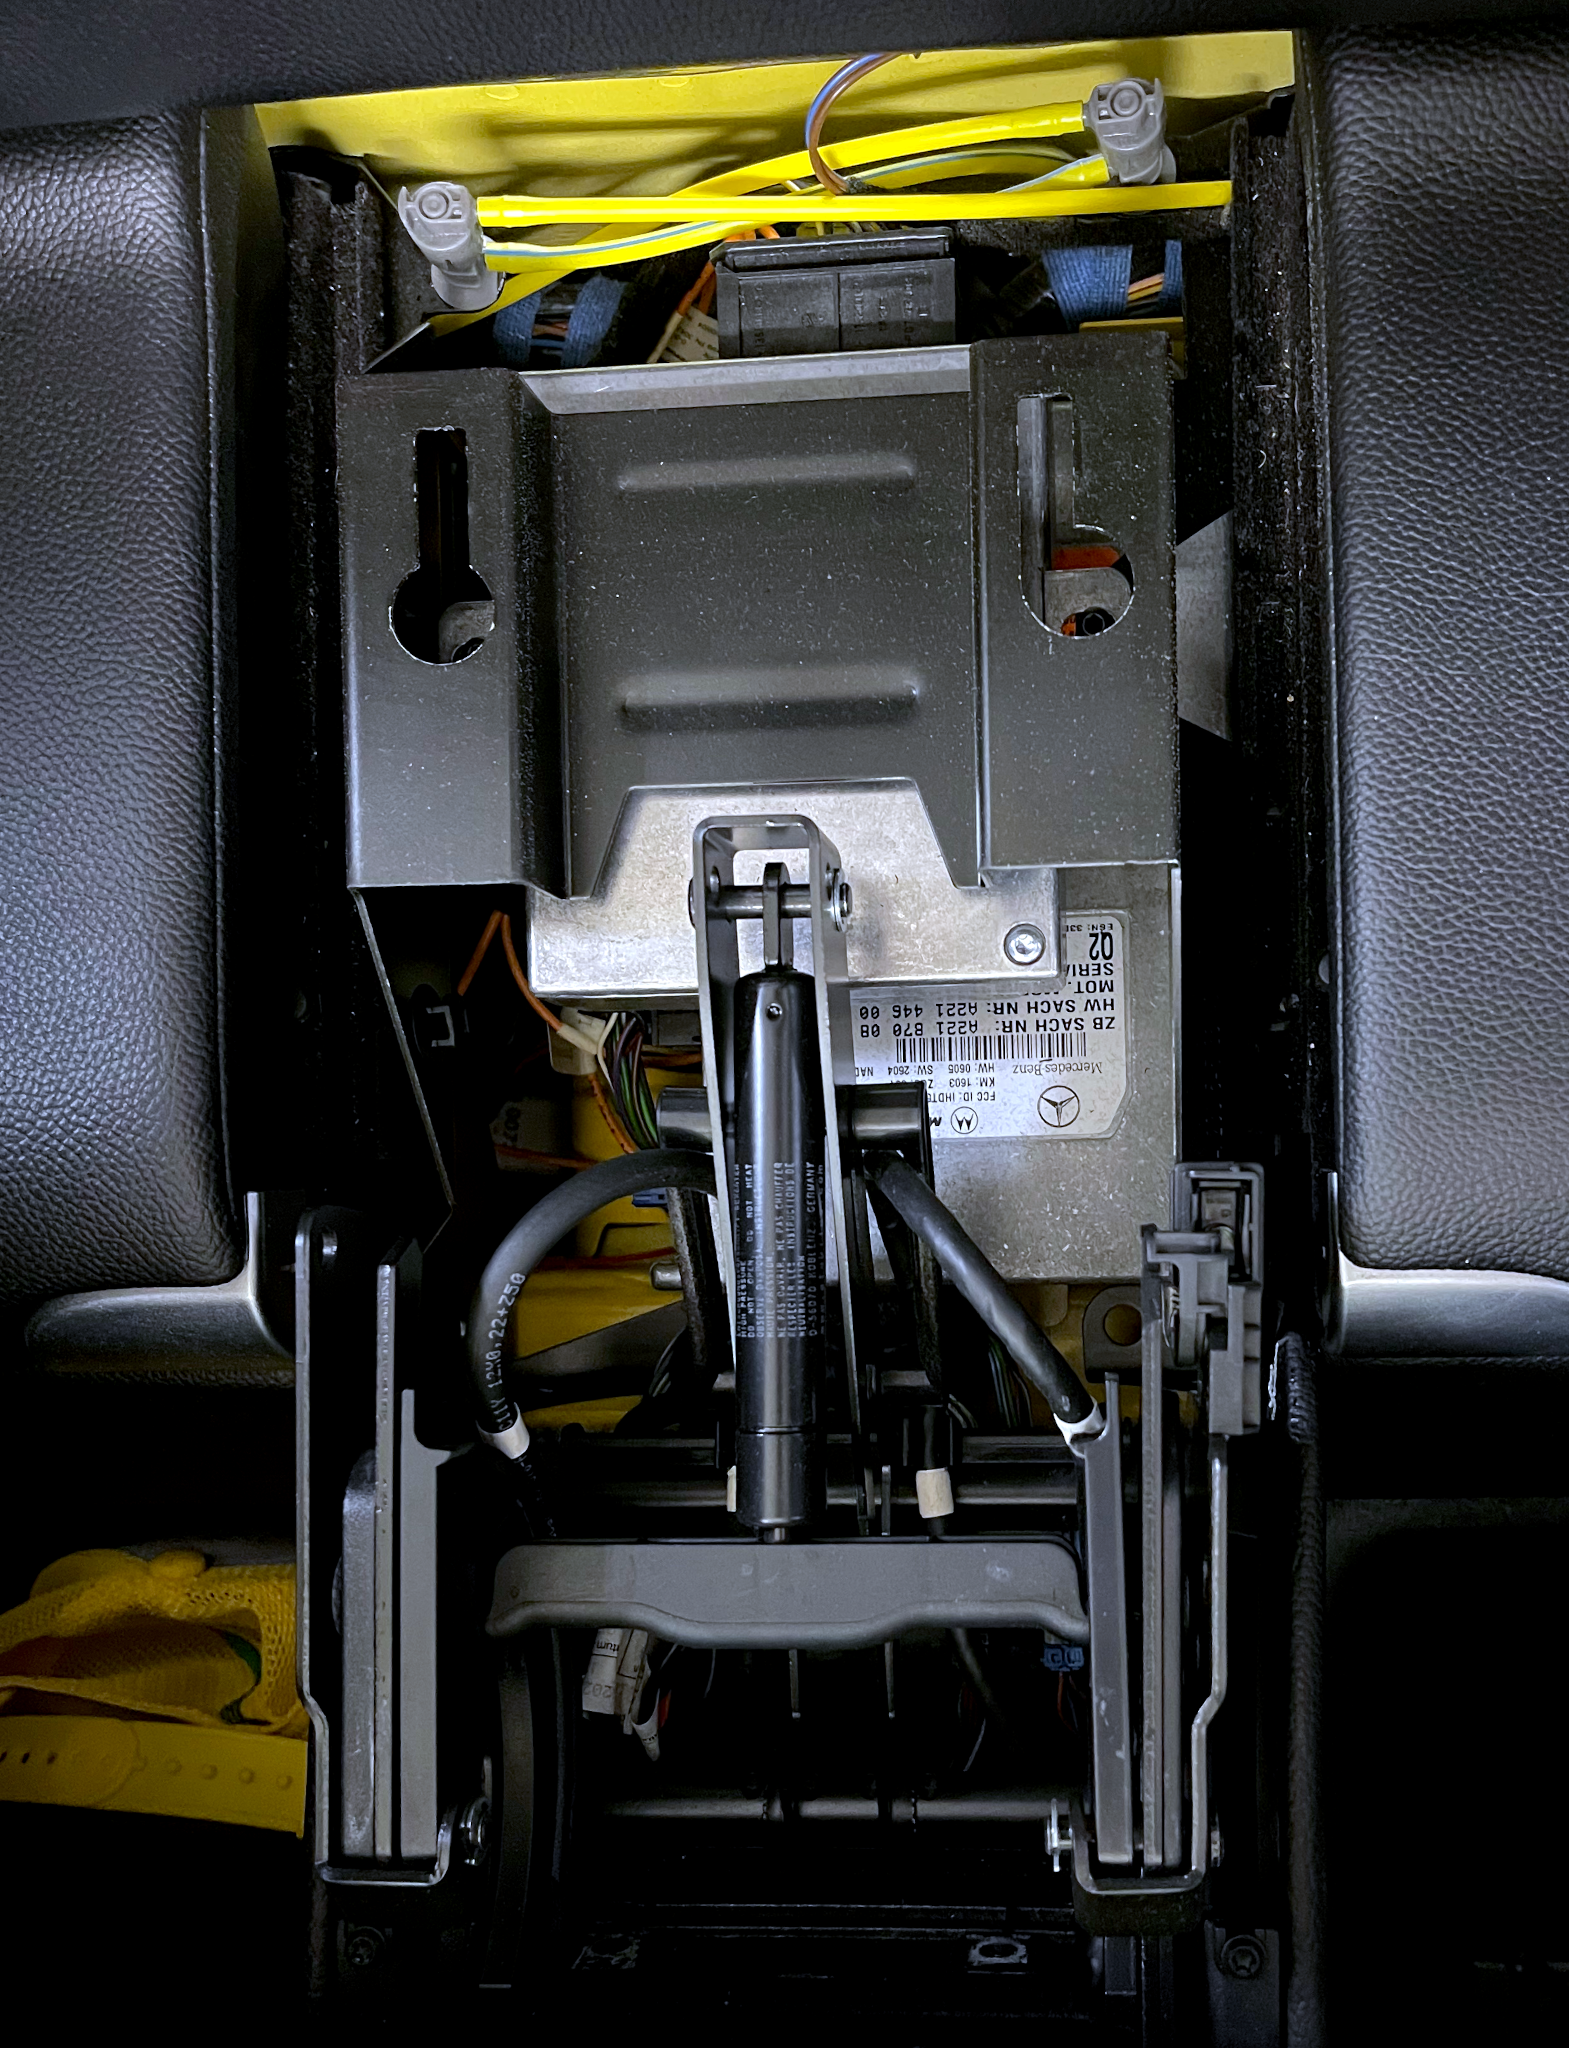
You can see the original equipment strut in place. There is a little flange in the back with a hole in it, and through that is a pin with a little clip. The piston part of the strut just screws into a brace that will eventually hold the armrest in position.
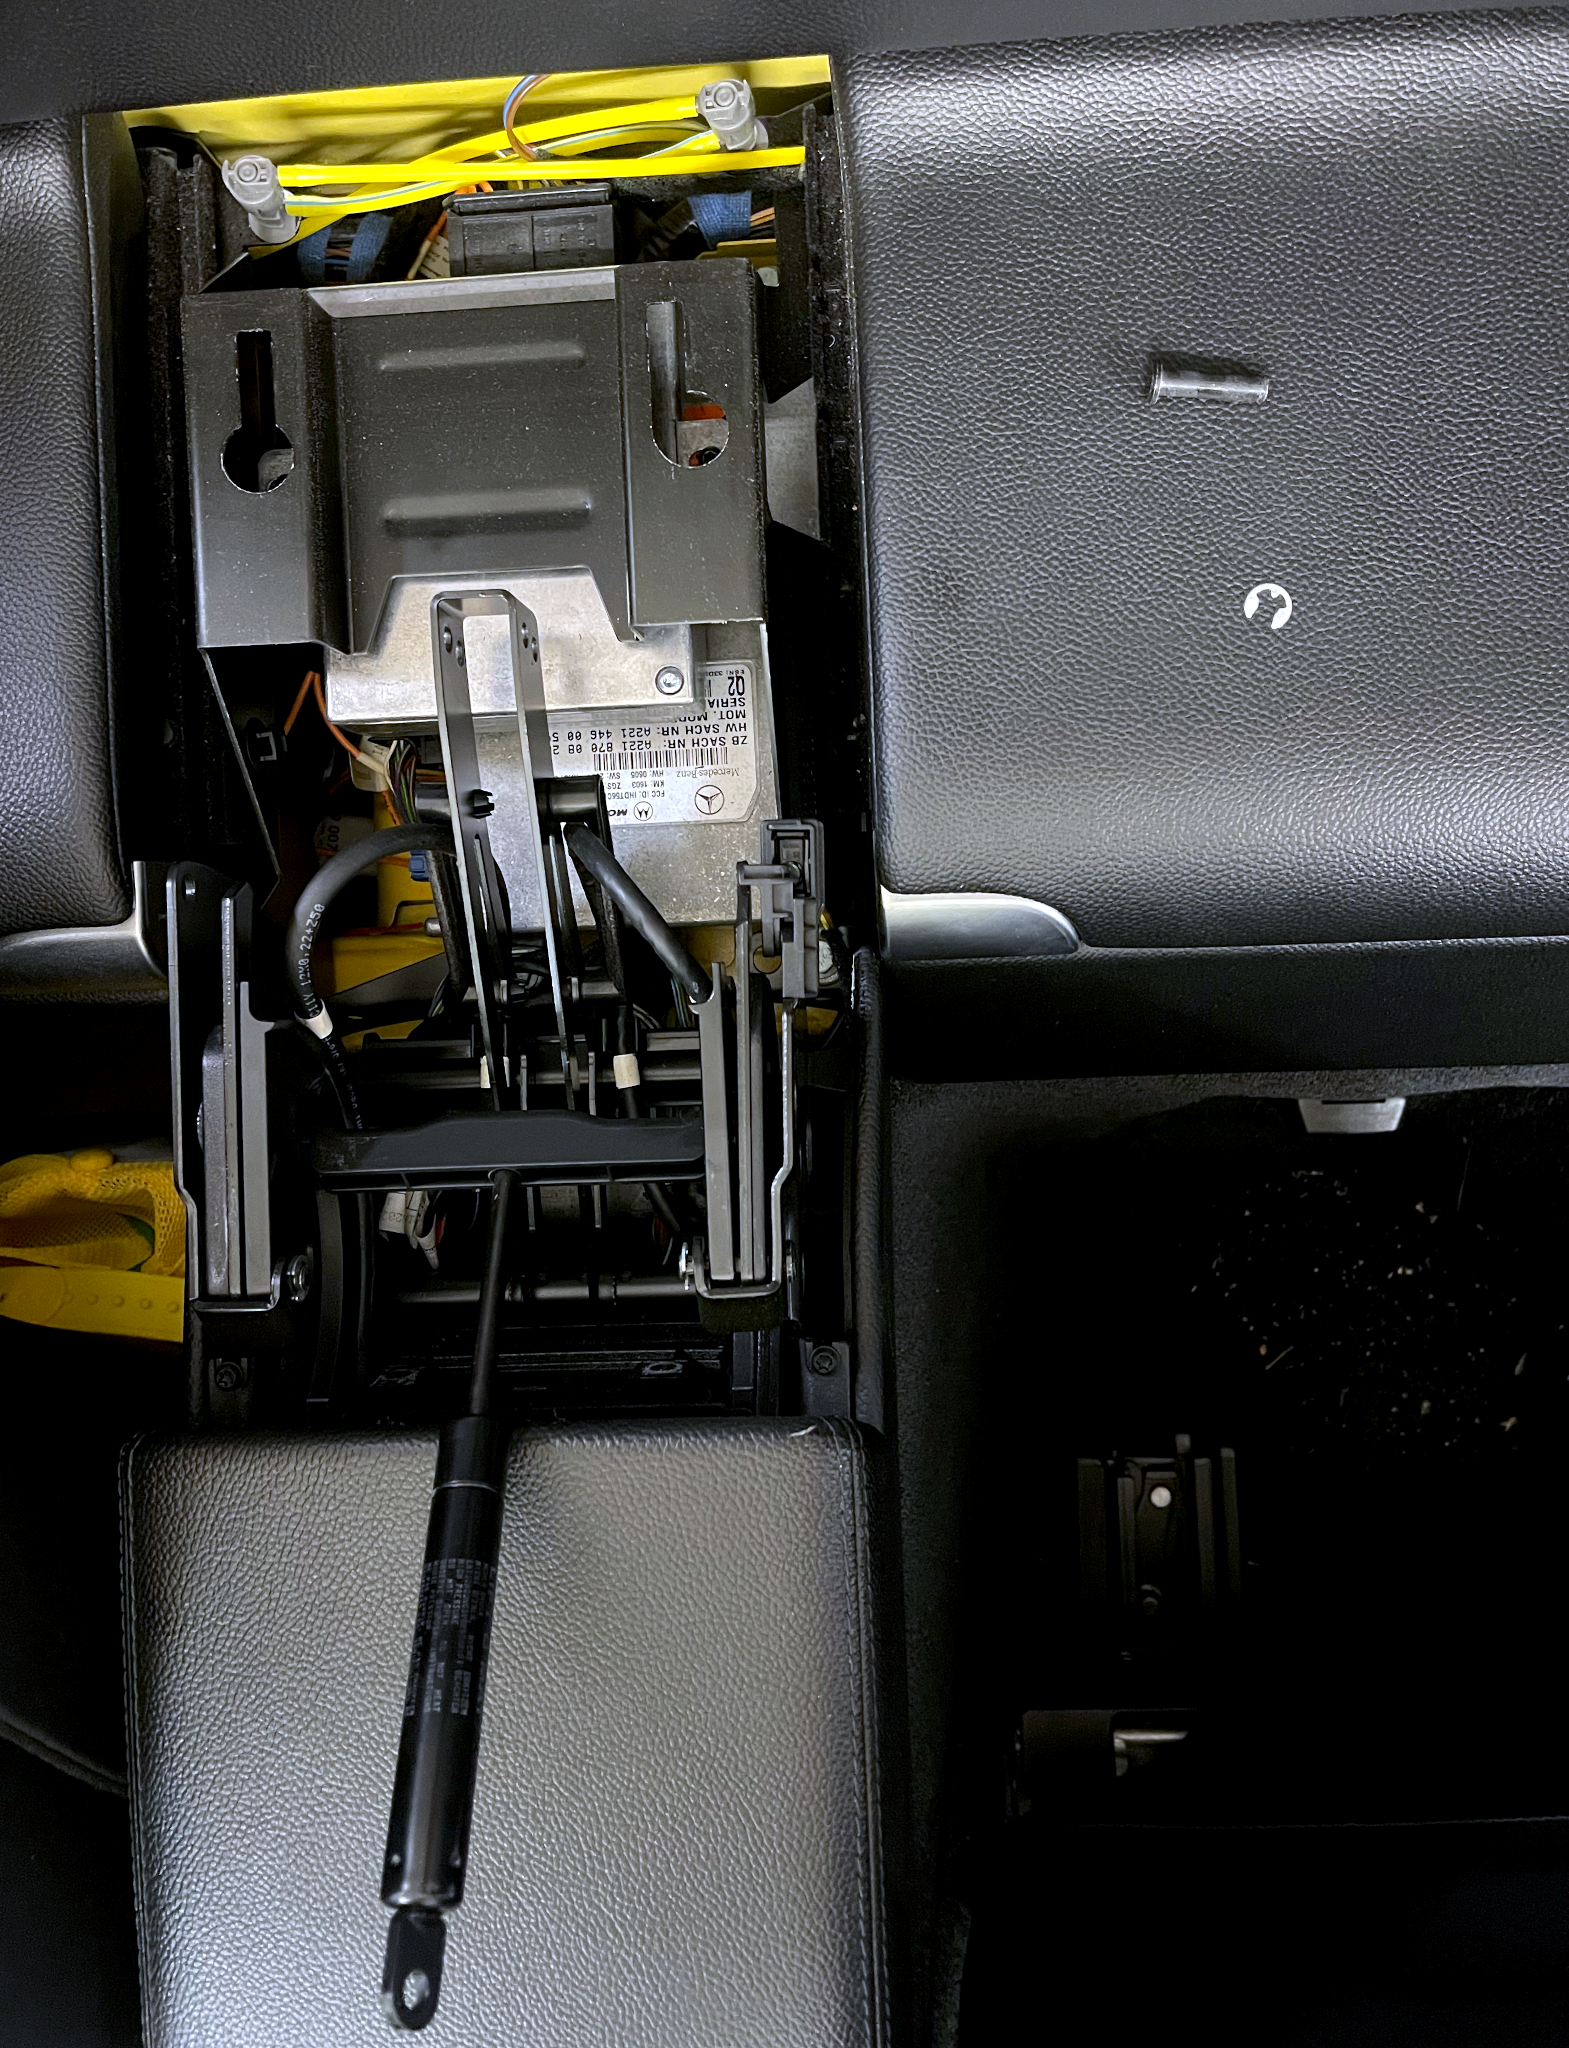
It is easy to remove the strut, but I was extra careful removing the clip holding the pin in place. I did not want to drop it (or the pin) into the bowels of the area underneath.
Now comes the hard part: getting the strut back into place. The new strut is much, much stronger than the one it replaces. It took me probably about 20 minutes to get it in, using a combination of pliers and a piece of string.
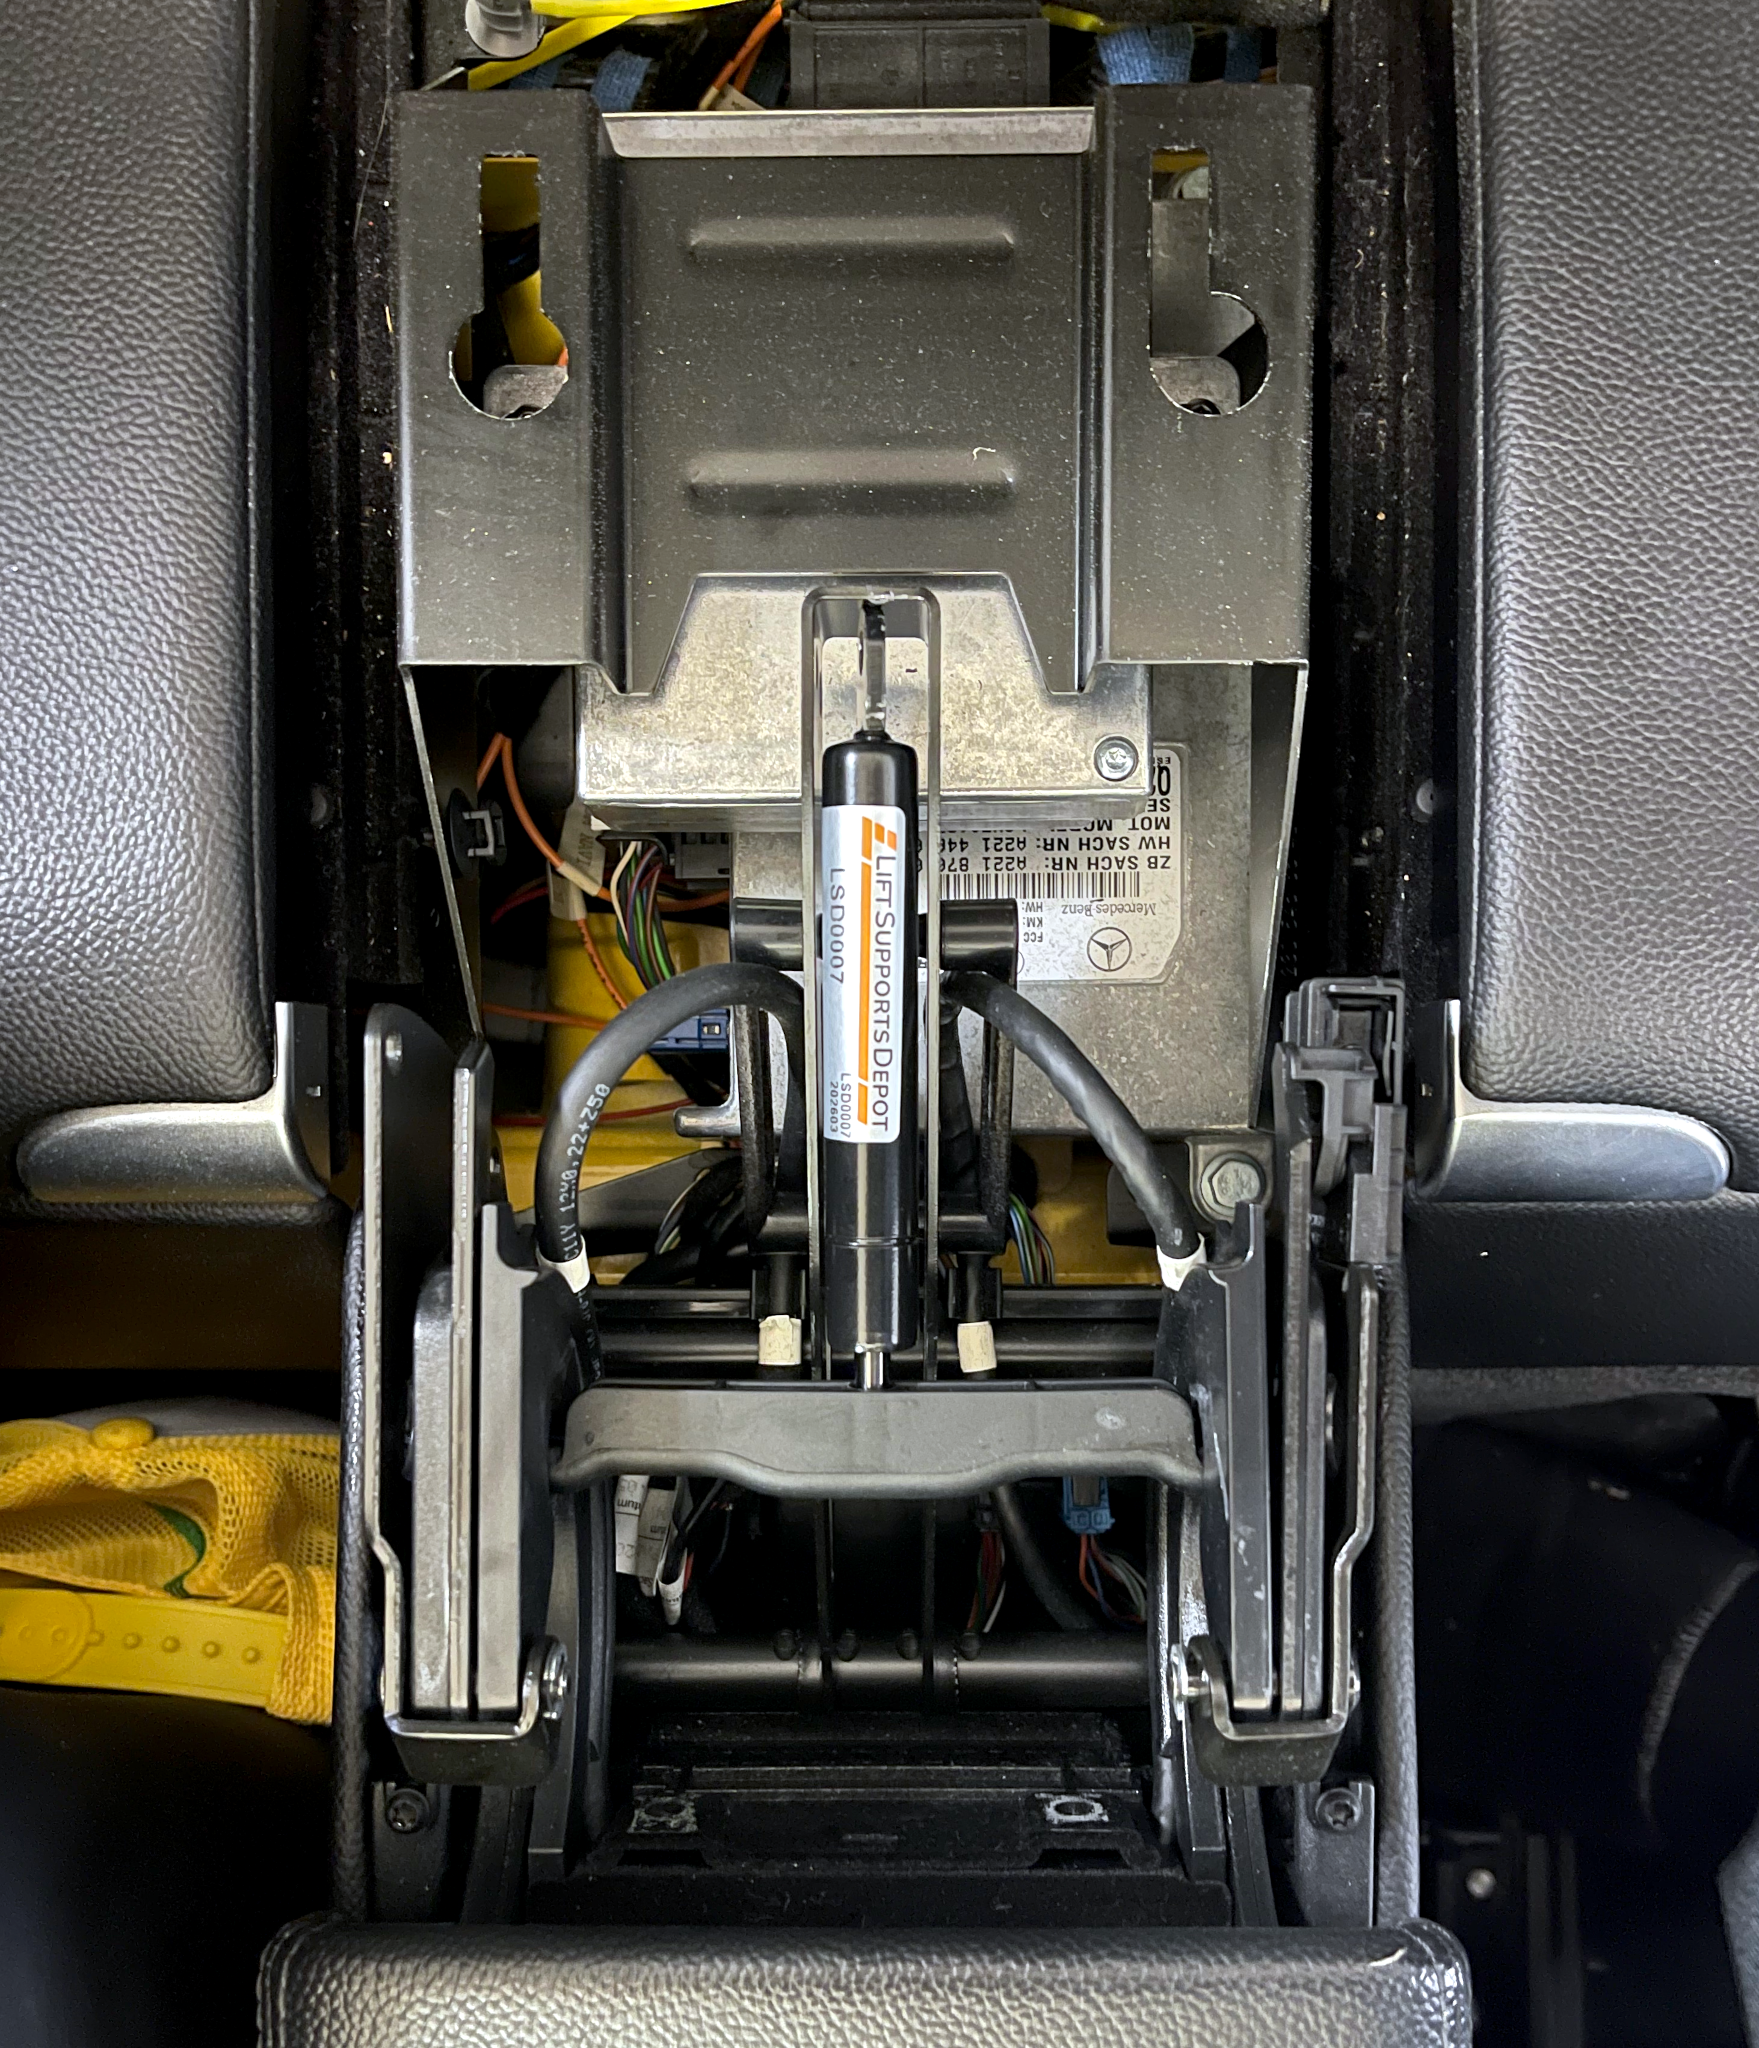
Once you can get it into the bracket it will stay in place, but then you won’t be able to get the pin in place. Using patience and needle-nose pliers, I got the pin set (taking off some paint in the process). I placed some plastic under it all when adding the clip, but managed to get it on without dropping it.
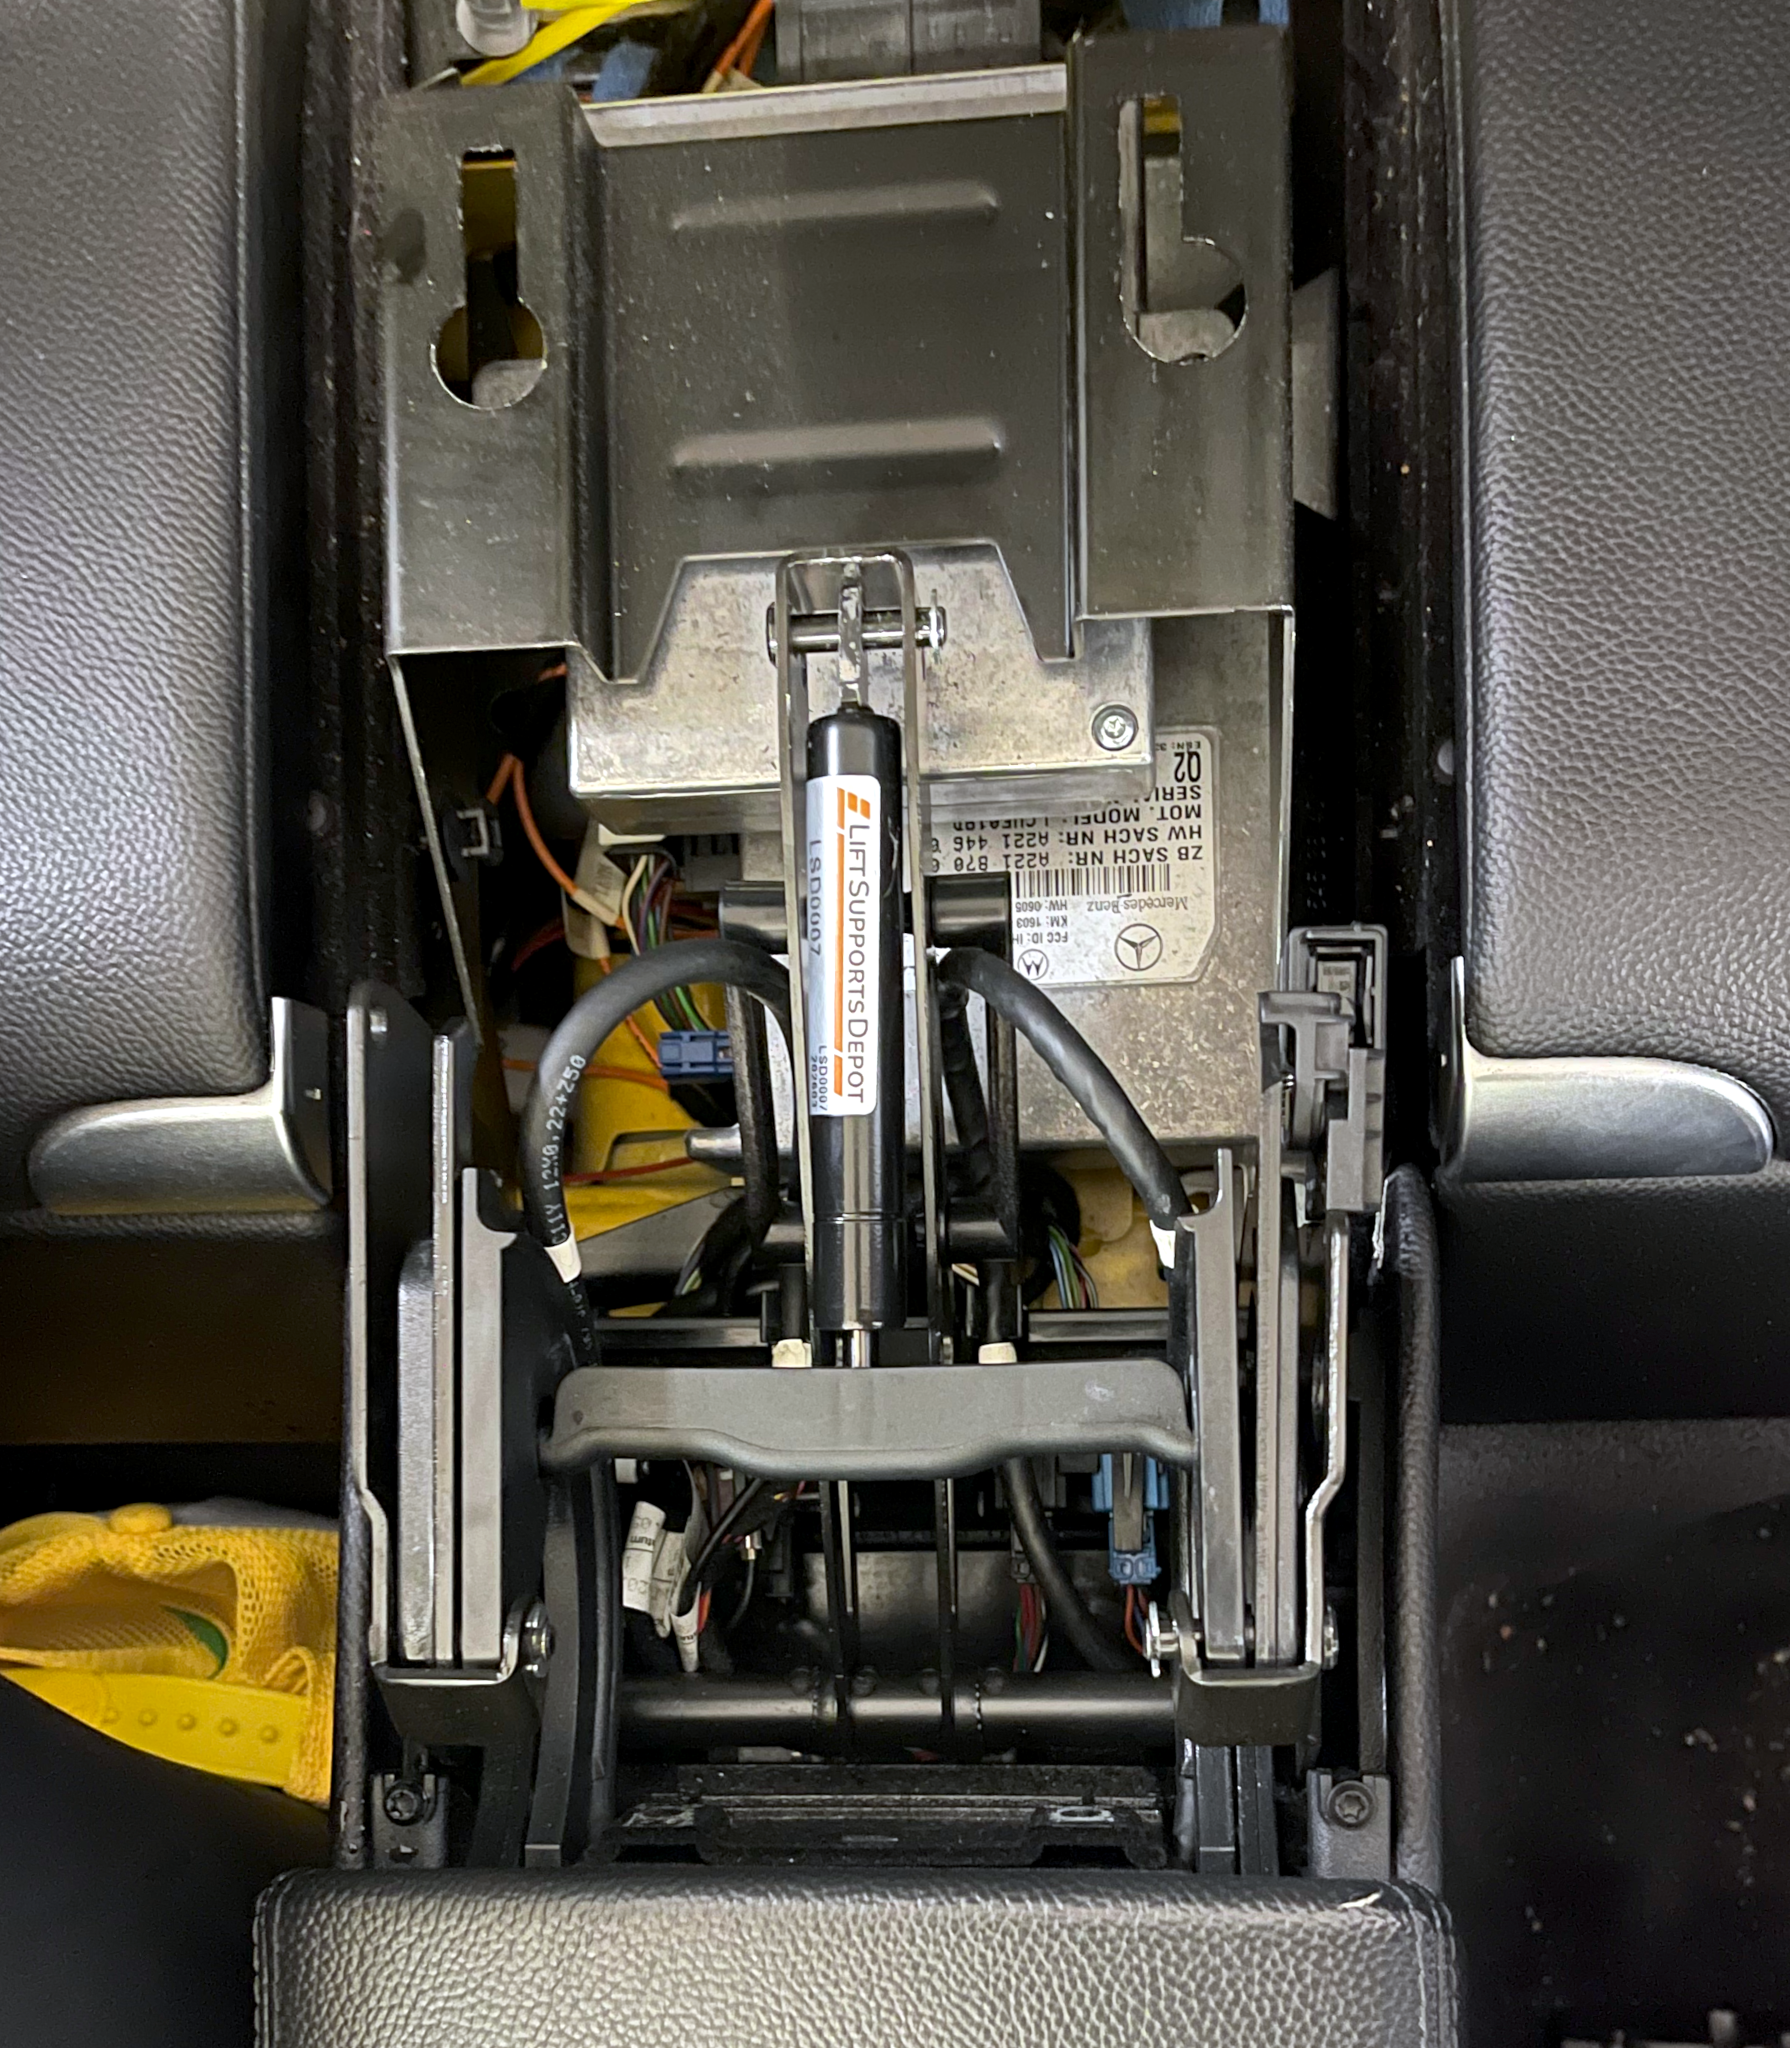
There are two sets of holes in the bracket, and I noticed looking at the pictures that the original strut was in the lower set of holes but I used the upper set for the replacement. I really don’t think it matters and it is such a pain I am not going back to fix it. You really don’t want the new strut to pop out of the bottom of the bracket as it would be difficult to get back out.
Once it is in, all that remains is to replace the cover and re-install the two screws. While I was doing this I noticed that there was a small tear in the material covering the armrest (you can see it in the bottom right of the picture with the new strut above). I thought I tore it replacing the cover, so be very careful.
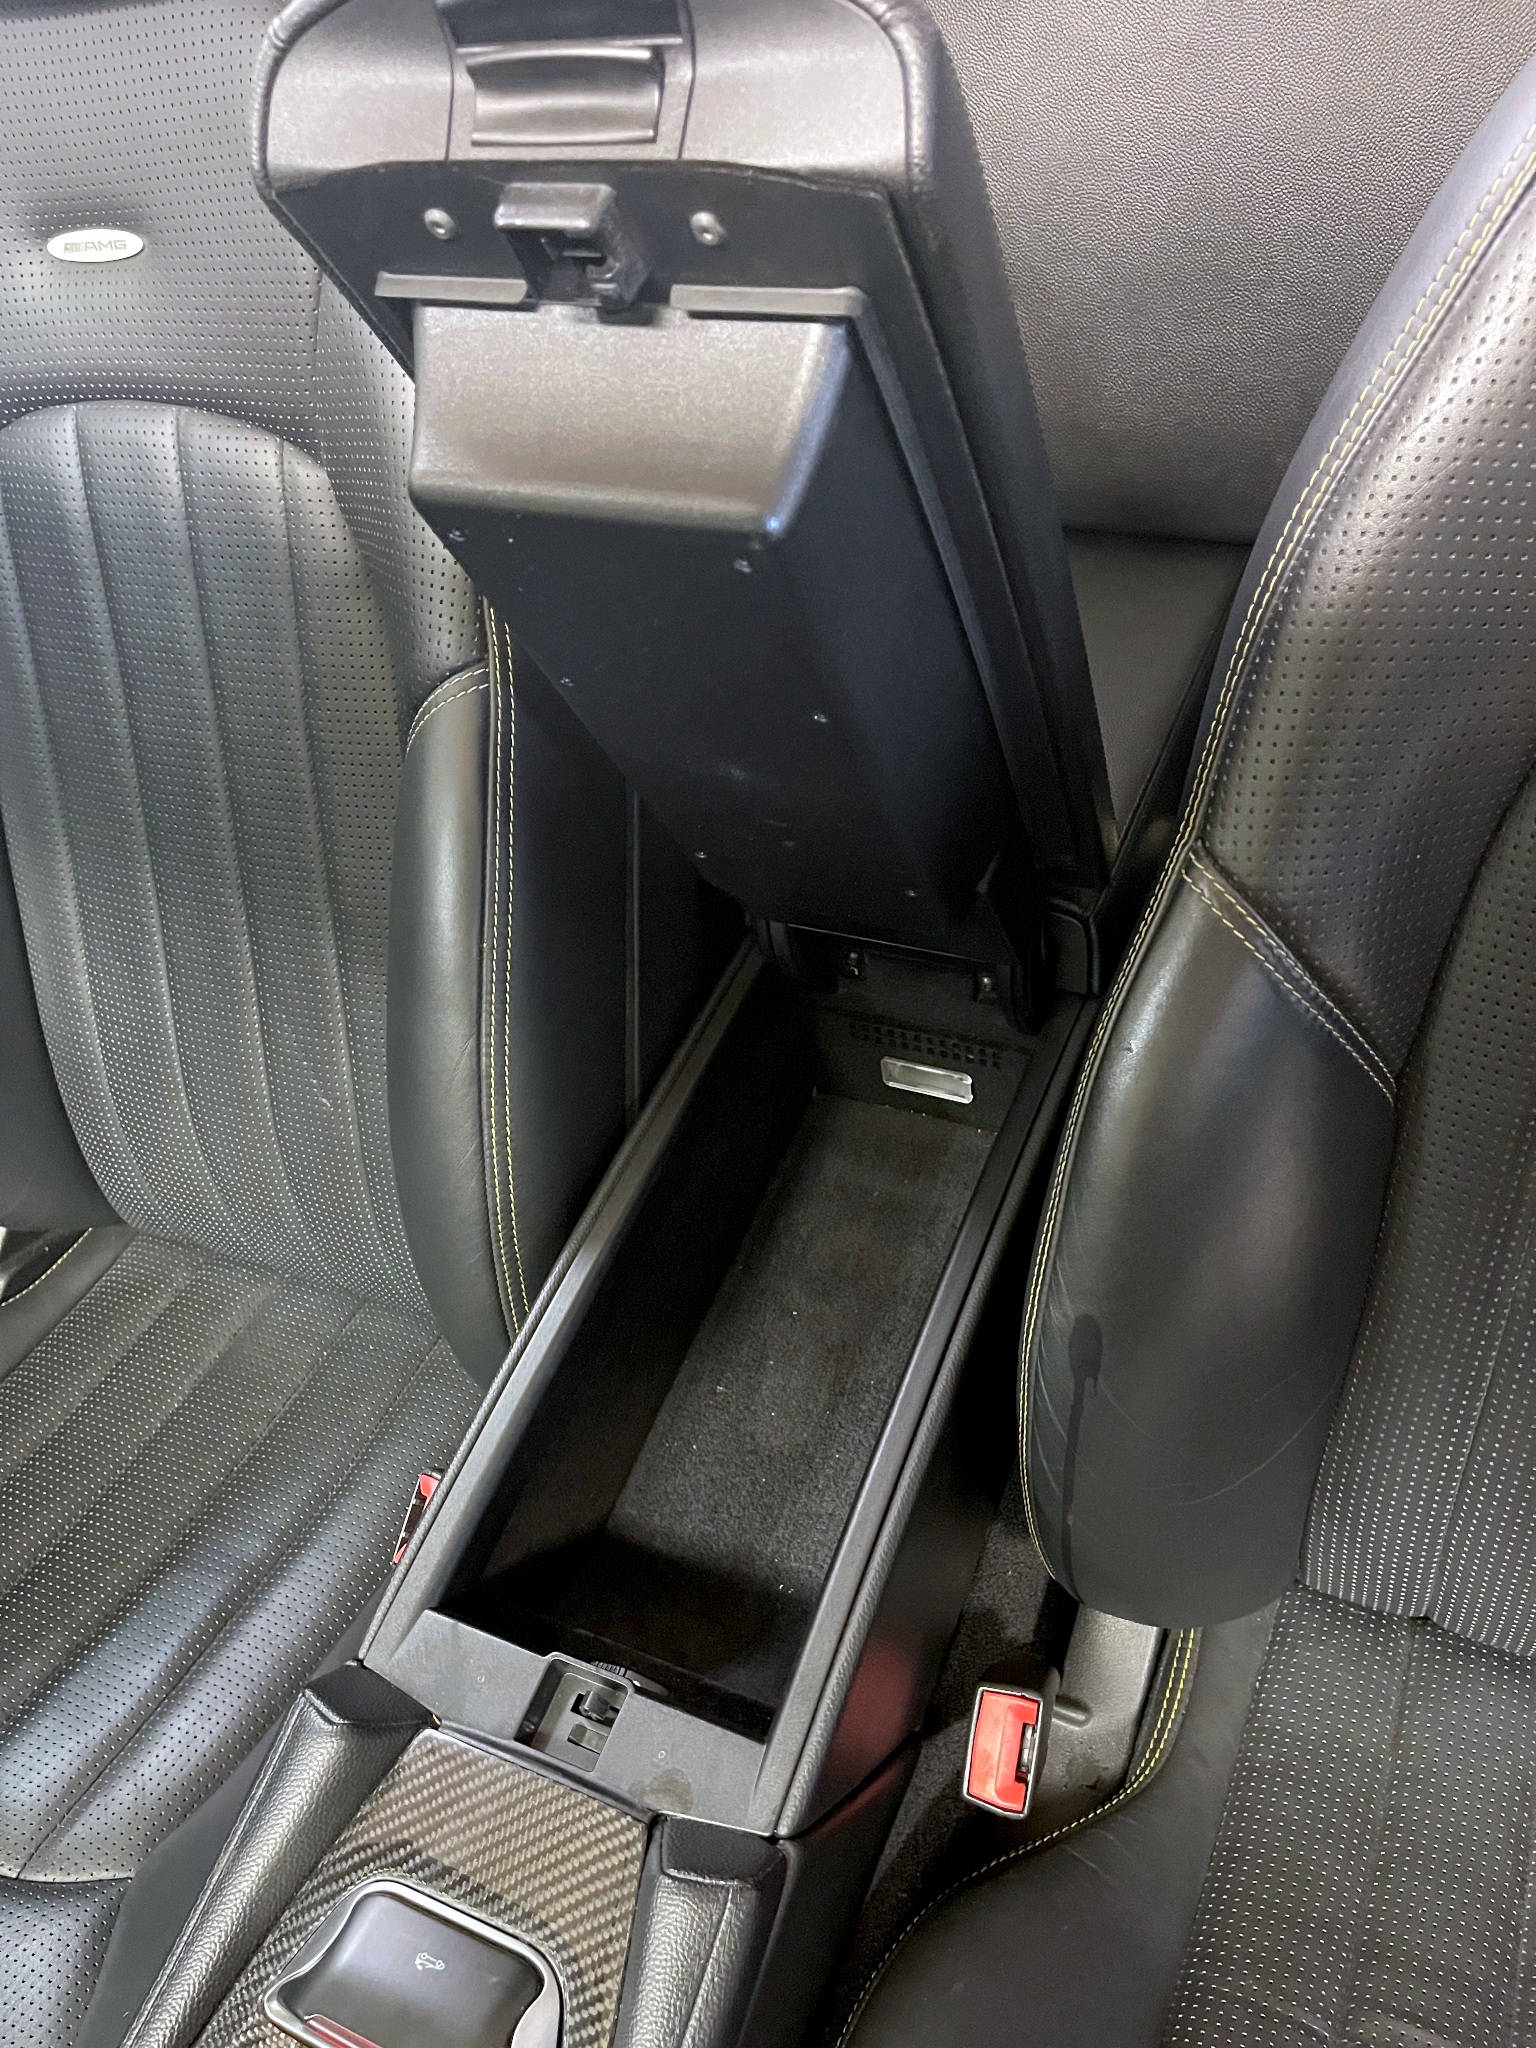
Now the armrest pops up on its own when you release it. I haven’t driven the car since I did this repair but I am eager to be able to get to my sunglasses without the extra effort.