Wonkiness

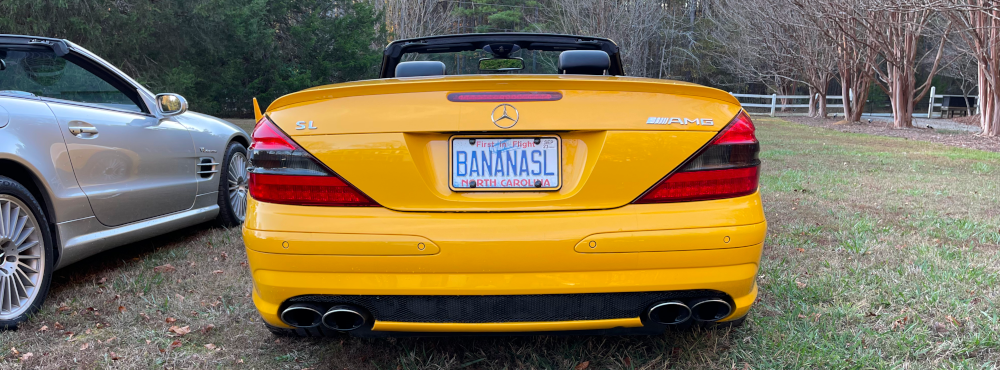
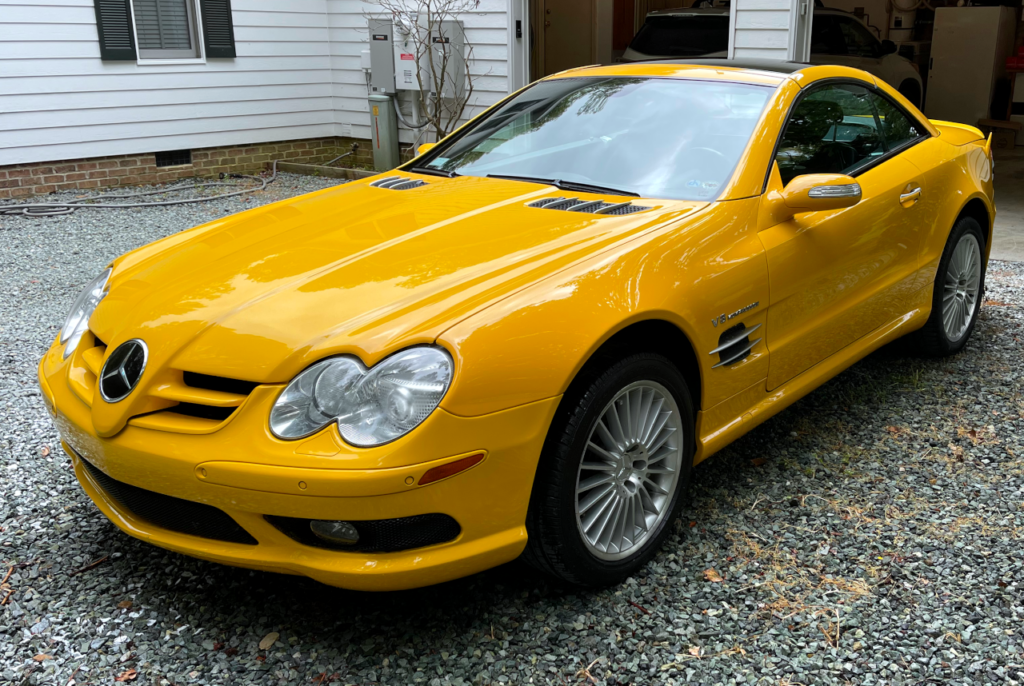
I got in the Banana this morning to run an errand and meet a friend for lunch. I started it up and immediately pulled out of the garage, as my mother-in-law is staying in the apartment above it and she complains that the engine makes it shake.

I went to drop the top (as it wasn’t raining) and the screen popped up the with the “close the trunk partition” error.

I hate it when I forget to close it because, as an “old”, getting into and out of the car gracefully can be a challenge. When I went to open the trunk it wouldn’t open.

Strange.

I thought it might be because the car was running, so I turned it off and tried again. No love. I finally used the key to open the trunk and found out that the partition was exactly where it should be.

I futzed around with it for a bit and then had to leave in order to meet my buddy. I did stop by Staples to drop off some Amazon returns and when I came back out I noticed the door was unlocked (I was certain I had pressed the lock button). I played around with it and it turns out that the locks weren’t working either.

After lunch I did some research and narrowed it down to a 25 cent 20A fuse or a $1000 vacuum pump.

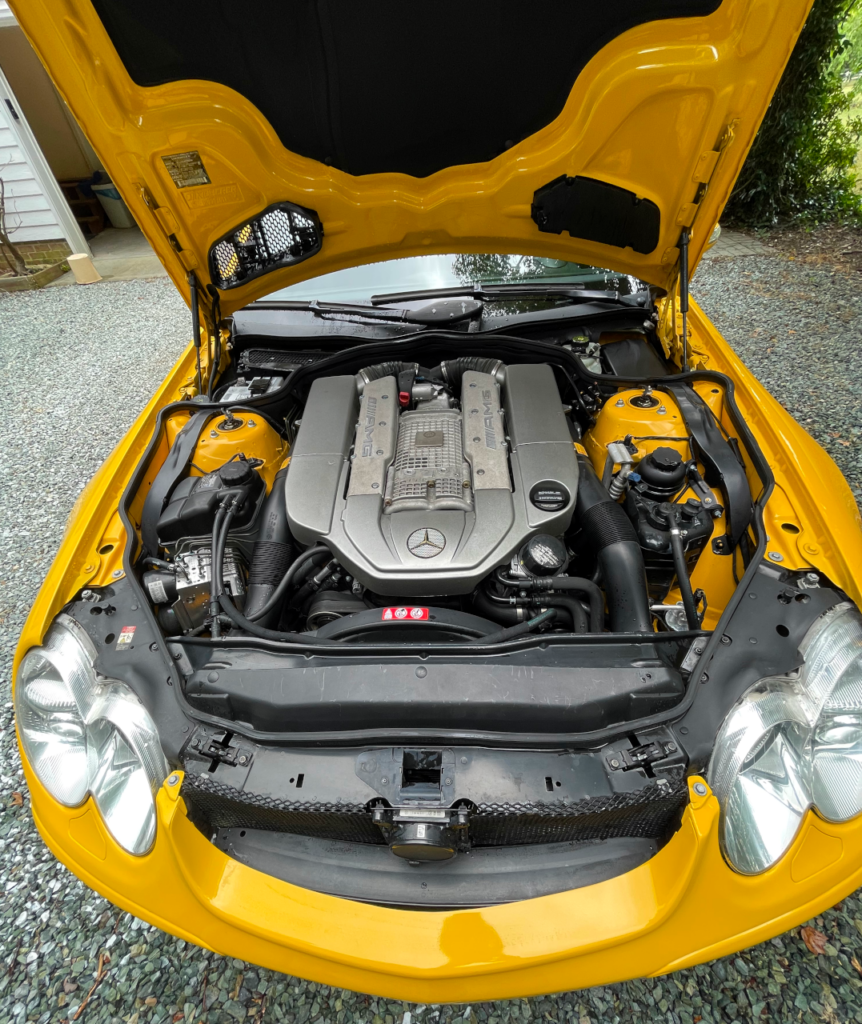
The fuse for the pump is located under a panel in the storage box behind the passenger seat. My garage is pretty tight at the moment so I tried to “Cirque du Soleil” my way into the back but ended up giving up and I pulled the car out of the garage. You have to move two little tabs and then really pull to get the panel to come off, but then you’ll see the fuses.

One article suggested that the fuse in question was the fourth one from the left, and since that was the only 20A (yellow) fuse I pulled it out to test it. Visually it looked fine, but just to be sure I put a meter on it, which verified that it wasn’t the fuse.

(sigh)

Well, thinking I would just add this to my long list of things to fix when I take the car in this fall, I replaced the fuse and panel, and backed it into the garage. Just for kicks I tested the top again.

It worked just fine.

So here’s hoping that the fuse somehow jiggled loose, but I’m guessing the pump will eventually need to be replaced. Just hope the top is up when it finally dies.

Ladder!

I was driving home from a business meeting this evening when I nearly collided with a ladder that apparently had fallen off of a truck and on to the road.

I was impressed at how well the car handled and very thankful that I didn’t hit the darn thing.

Banana Update

It’s been awhile since I posted, but I’ve really been enjoying driving the Banana, and it even got featured on Bring A Trailer.

The only maintenance things I’ve done since getting it back at the end of September was to replace the rear accessory battery. Even keeping it on the CTek charger it would complain that convenience features were not available, but since replacing the battery (which had a 2015 date code) the car has been running great.

Repair Shock

Okay, look, I know that high-end sports cars can require a lot of maintenance, but I can honestly say I was really disappointed when my mechanic sent me a list of things that need to be done to The Banana.

I’m not going to do all of them at once, but here are some things I have to do now.

  • Front rotors and pads
  • Engine Mount
  • Front Thrust Arm Bearings
  • Valve Cover Gaskets
  • Transmission Oil Cooler Hose Seal Rings
  • Windshield Wipers
  • Reseal Rear Differential

That last one is a doozy, as it is mainly labor and requires removing the differential from the car. I’ve asked about Limited Slip Differential options as it should be almost no extra label to install it during this process.

(sigh)

Finally!

Last week I received the notarized title back from the seller and today we were able to get The Banana registered in North Carolina.

Whew.

It will be a few weeks before the personalized plate arrives but I was able to really drive it for the first time today. I took it through the country “loop” I like and it handled well. The battery is complaining because it sat so long but all the malfunctions cleared by the time my ride was done. I had the same issue with The Shark when I got it, and I’m hoping it will be the same with this car.

Matchbox “Superfast” Yellow SL55 AMG

I find it amusing that Mercedes never offered yellow exterior paint on any R230 as a standard color option, but that Matchbox made a yellow SL55 AMG.

Matchbox Yellow R230 "Superfast" Toy Car and Box

It was a limited edition of only 15,500 units, so I’m sure this will be worth something someday (grin)

[I’m being facetious but most of my matchbox cars got run over when I would leave them in the driveway after playing with them]

Mercedes Benz to Bring Back the SL55 for 2022

I recently learned that for the 2022 model year Mercedes is bringing back the SL55 as a softtop roadster.

It looks like there are actually two models, the SL55 and a twin-turbo SL63.

I’m not in the market for a new internal combustion engine (ICE) car, but if I was I’d check these out. I’m a little disappointed that it isn’t a hardtop convertible, but it does save a lot of weight and complexity.

The reviews are pretty positive.

We were wildly impressed. After first experiencing the cushy highway ride, a blast through the winding roads near Palomar Mountain showed that this isn’t just a grand touring, country club SL.

In addition to ditching the hardtop, they advertise this as a four-seater, although I’m pretty certain you’d have to be pretty tiny to fit in the back seats.

Strictly available as an AMG version, I expect this to be one of the last ICE roadsters Mercedes makes, but they are, for the first time, offering it in yellow (grin).

The First Detail

Even though I can’t take The Banana out for a drive until the title gets back and I can get a plate, I did want to detail the car. I really enjoy detailing but when done right it takes me about two days, so for this first attempt I was just going to wash it and see what kinds of imperfections I could find and fix.

Since the car was registered in California it needed to have a front license plate, but there was no front bracket on the car. Instead it looks like they got creative and used a couple of wires coming through the lower front grill. Unfortunately, this isn’t very stable so it caused the plate to wear a couple of divots into the lower air dam, but since it is already cracked in a couple of places it will need to be replaced in the future. In the meantime, I thought the wires looked a little unsightly and wanted to remove them. I had to remove the grill by using a small screwdriver to open up a series of clips and then I used needle-nosed pliers to gently pull the grill away. I was then able to cut the wires and remove them. I thoroughly cleaned the area with the grill removed before snapping it back into place.

It also looks like the car was hit (in a very minor fashion) in the left rear. I was able to buff out most of that with Griot’s polishing compound.

With most of the exterior touch-up work complete, I started on the engine. I like to keep the engine bays on my cars very clean, and I finally got to remove that piece of a dried leaf that had been bothering me since I saw it in the auction pictures.

The engine bay of an SL55 showing a small piece of dried leaf

The engine bay was pretty dirty, so I got out the P21S and got to work. When I was done I thought it looked a lot better, but I still need to spend an hour or so on it with a brush to get to those hard to reach places. Once you get it perfect it is pretty easy to keep it that way with a minimal amount of effort each time you wash the car.

Picture of yellow SL55 engine bay after cleaning

I also took the time to note who assembled this engine. Each AMG engine is assembled by a single person. On The Shark it was Sabato de Luca but on The Banana it was done by Sascha Greiner.

AMG plaque showing "Handcrafted by Sascha Greiner"

With the engine done I got started on washing the exterior, but I didn’t go full out. I plan to do that later in the year when I have time and the space for it (my current workshop has other stuff in it at the moment).

There is a big difference between the old SL55 which arrived with 18,000 miles and this one with 52,000 miles. The Shark is nearly mint, with a little rash under the front air dam but few chips or dings. The Banana has many more imprefections, but luckily nothing major. I think a little touch up paint and a nice polish and wax will bring it up to snuff.

View of a clean yellow SL55 from the front left

It was kind of peaceful working on the car today, and I still haven’t done anything with the interior. I just haven’t had a lot of time to work on it and I’m more eager to drive it than clean it at the moment. Here’s hoping the title comes back soon.

Replacing the Trunk Lift Supports

One problem with getting a new SL55 is that now I have to go through all the other things I had to fix on the old SL55.

A common issue seems to be that the trunk lift supports start to fail. In both the service records for The Shark and The Banana I saw that they had been replaced, but when I got both cars the trunk lid struggled to stay open.

This can be a pain since the Mercedes OEM replacement parts are well north of $100, plus labor if you get them done at the shop. However, they are incredibly easy to replace, and I found a third party product that works just fine on Amazon for less than $25.

Replacement trunk lifts in package

I try to use OEM parts whenever possible but these were so much less expensive and they are still working fine on The Shark so I figured it would be a good fix on the new car.

Installation is a breeze. First note the orientation of the lift (the thicker part is on top). Next, remove the two retaining clips from the existing lift. They just pop off when you insert a small screwdriver into the little slot in the middle of each clip.

Screwdriver removing retaining clips from trunk lift

Once the upper and lowers clips are removed you can just pull off the lift. Note that the trunk will now be completely unsupported on that side so you’ll need to hold it up while you install the replacement lift. It should just pop on with minimal pressure.

Repeat on the other side.

Now the trunk lid should be easier to open and close.