Replacing the Hazard Switch
I have some mild OCD, and when it comes to cars this expresses itself in that I need to keep my vehicles in a particular state of repair. If they aren’t clean, etc., this causes anxiety.
This means I tend to do things no sane automobile owner would do, like replacing a perfectly functioning switch with a new one.
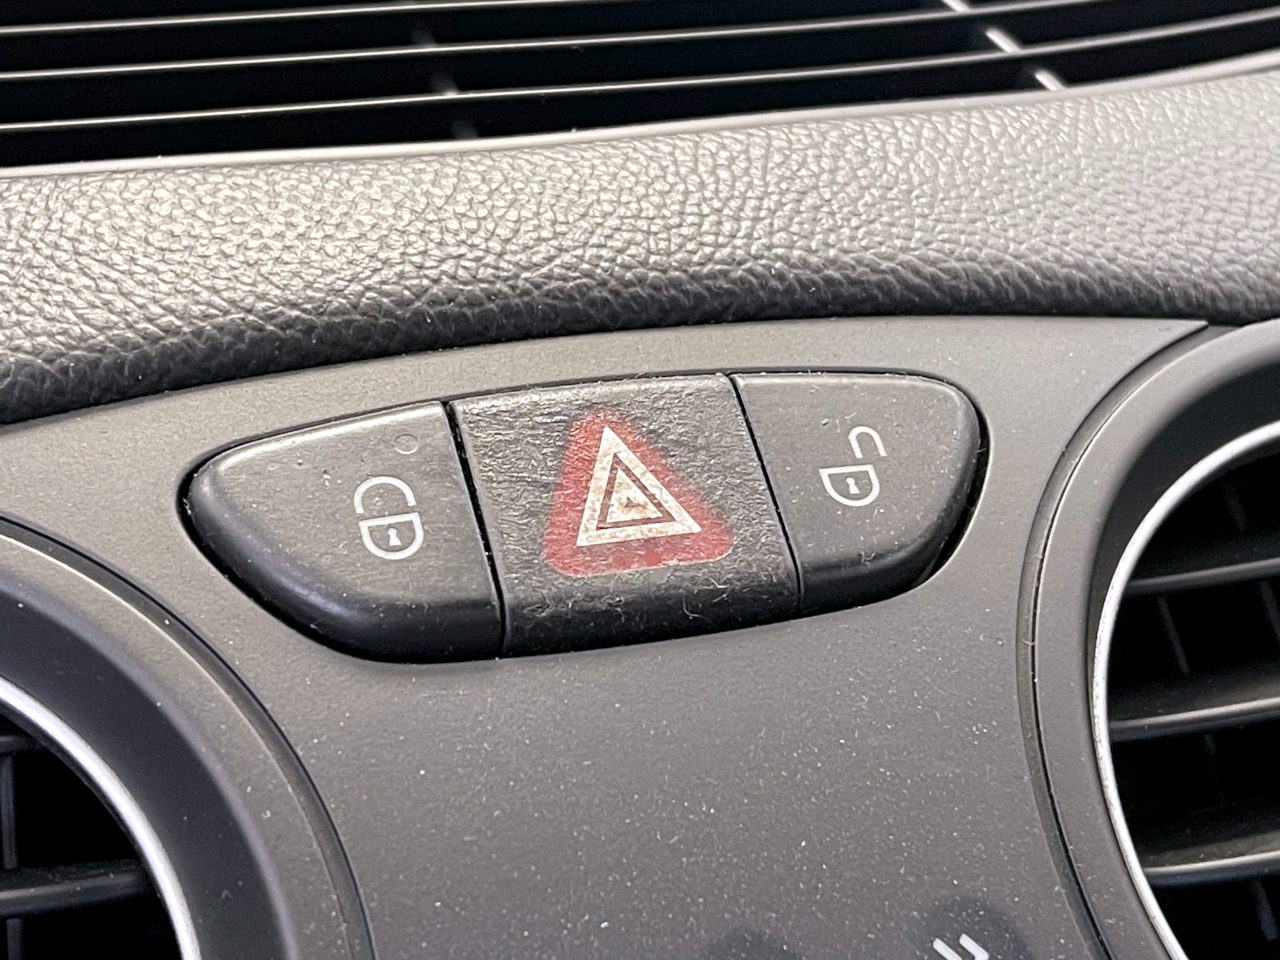
Cars as old as the Banana have a tendency to develop “sticky” switches. Apparently this has something to do with the non-slip coating used on them degrading with time. When I got my first SL55, the Shark, I went to work trying to clean that stickiness off of the controls.
I found that Griot’s Interior Cleaner and some elbow grease did a good job, with some Goo Gone being used for the rest. The problem came when I went at the switch that controls the door locks and the hazard lights.
It took the white “triangle” marking clean off. (sigh)
So I ended up replacing the whole switch. It ran about US$80 and was a pretty easy repair.
When I got the yellow SL55, I noticed that the same switch looked a little dodgy, so I made a mental note to replace it.
I finally got around to it, noticing that in the three years since I last did it the part is now about US$180, a hundred dollar difference. I guess this is what I have to look forward to as the car continues to age.
This weekend I finally got around to replacing it. The process is pretty easy. You’ll need some sort of pry tool to lift up various things and a Torx T15 screwdriver.
To start, gently pry up the front of the dash vent above the switch. It is held on with two clips in the front.
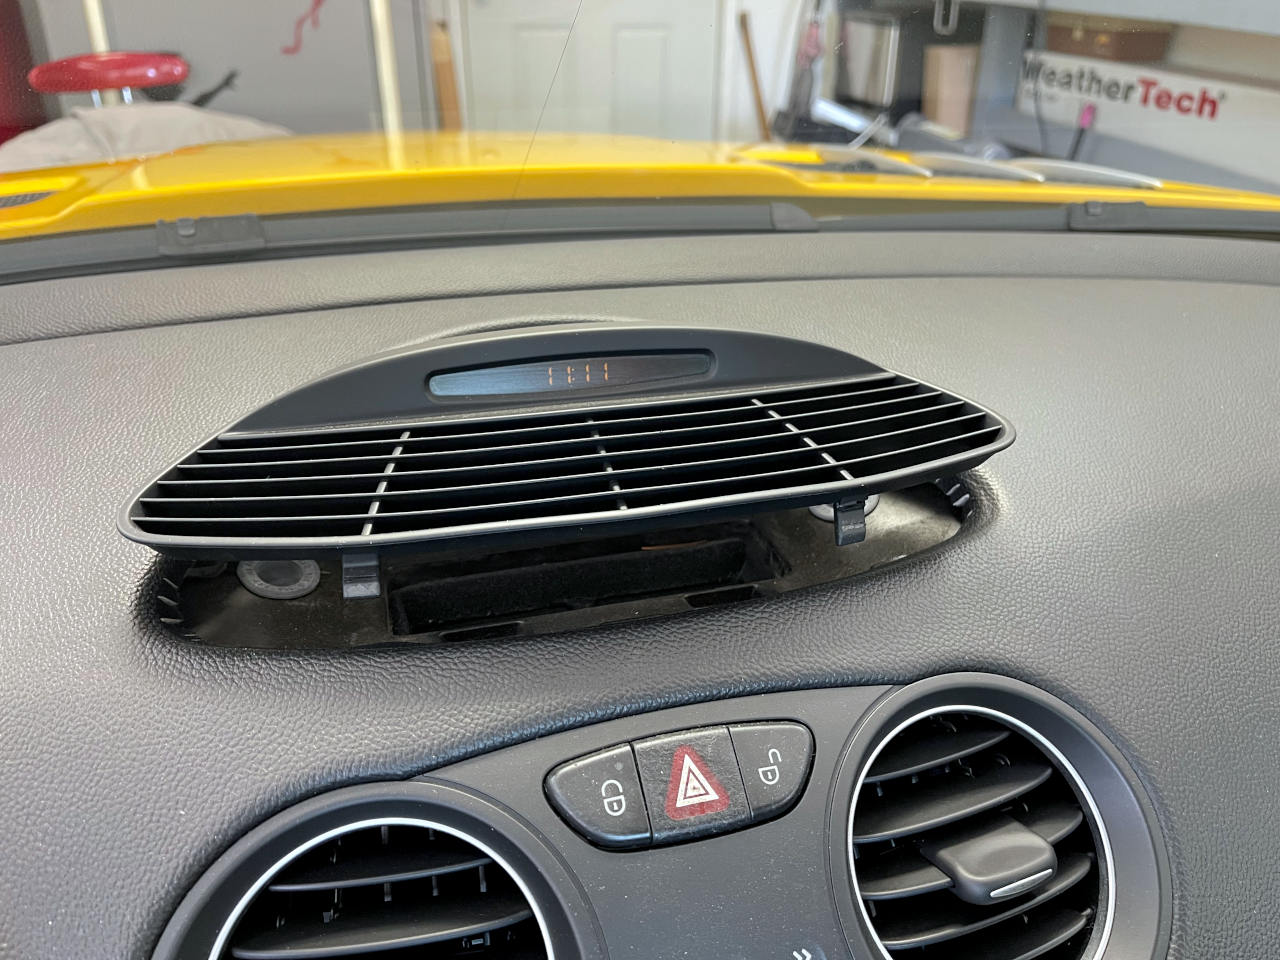
Once it is up, you can disconnect the cable to the right and that will allow you to pivot the whole thing out of the way.
Next, take the T15 and remove two screws up at the front of the area you just uncovered. They are at a weird angle, but I didn’t need anything special to get them out. These screws secure the lower vents that also holds the hazard switch.
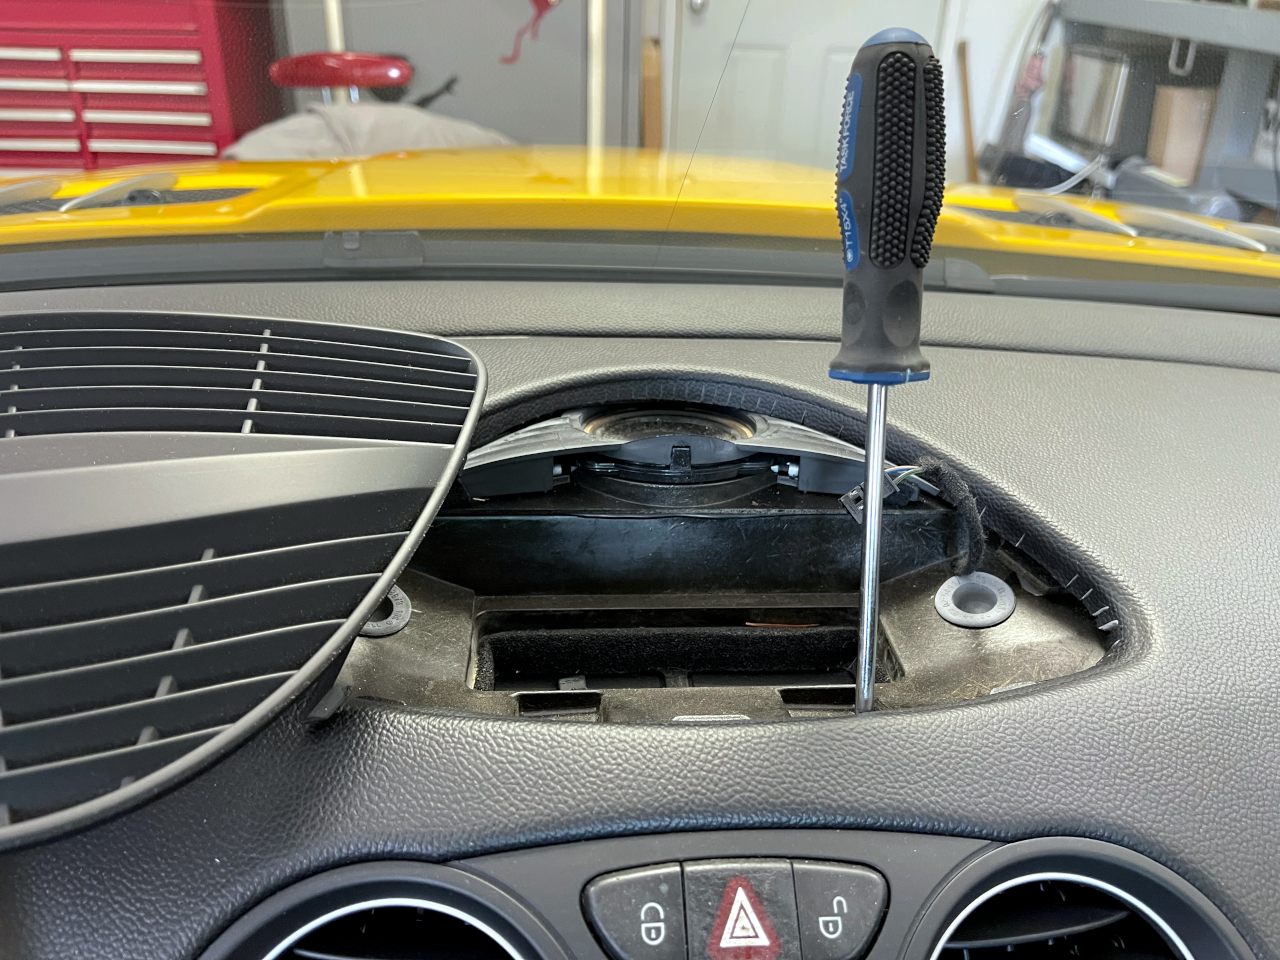
Once those screws are out, you should be able to pry the whole assembly out as it is now held on with just clips. While this popped out easily on the Shark it would barely budge on the Banana. I was being very careful since I didn’t want to break anything, and I noticed that it would move just enough (about 2-3 millimeters) that I could get my pry tool behind the switch and get it to pop out.
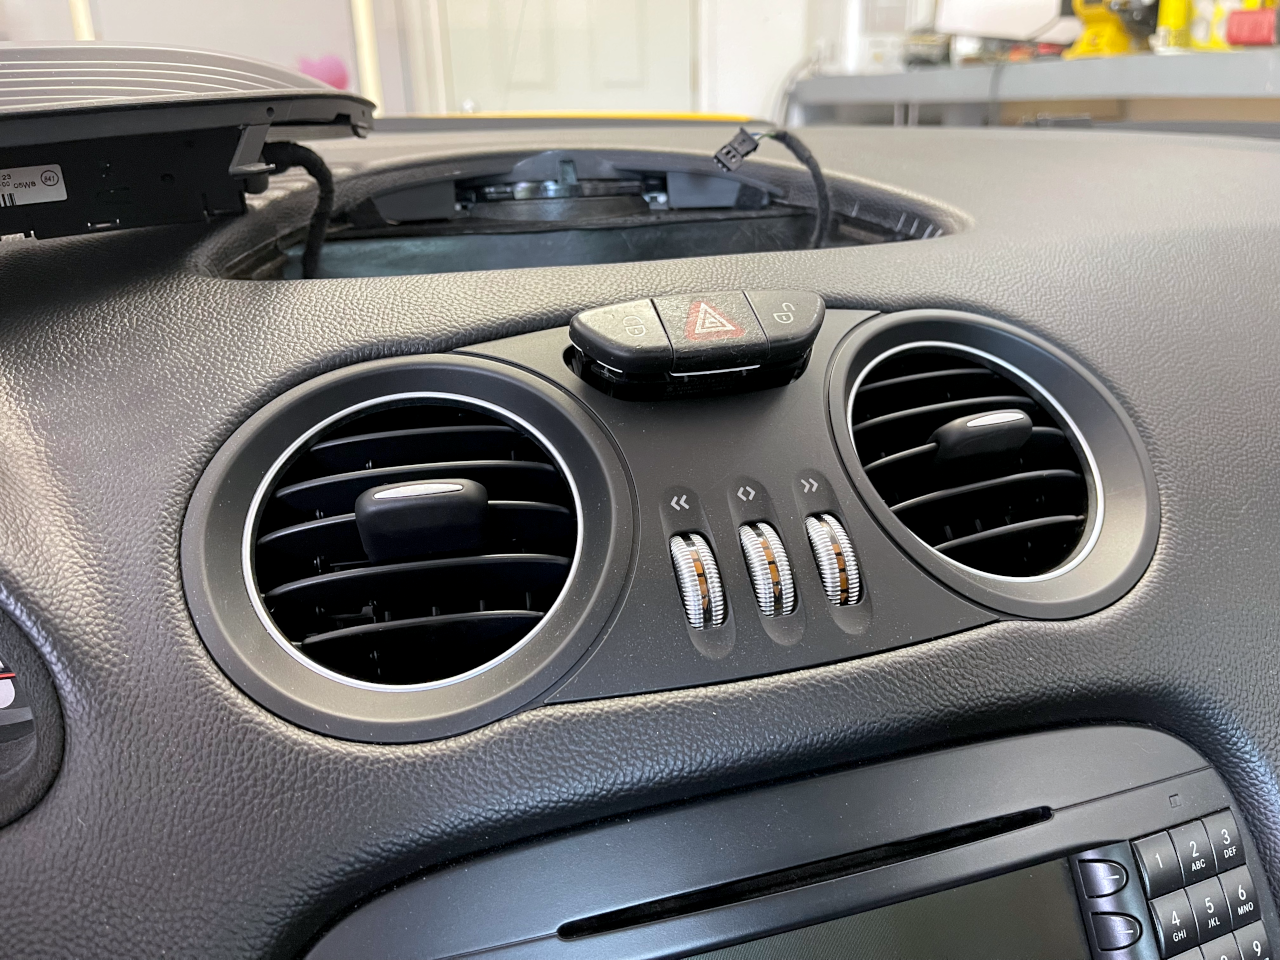
From there is was pretty easy. You lift up the switch and disconnect the cable.
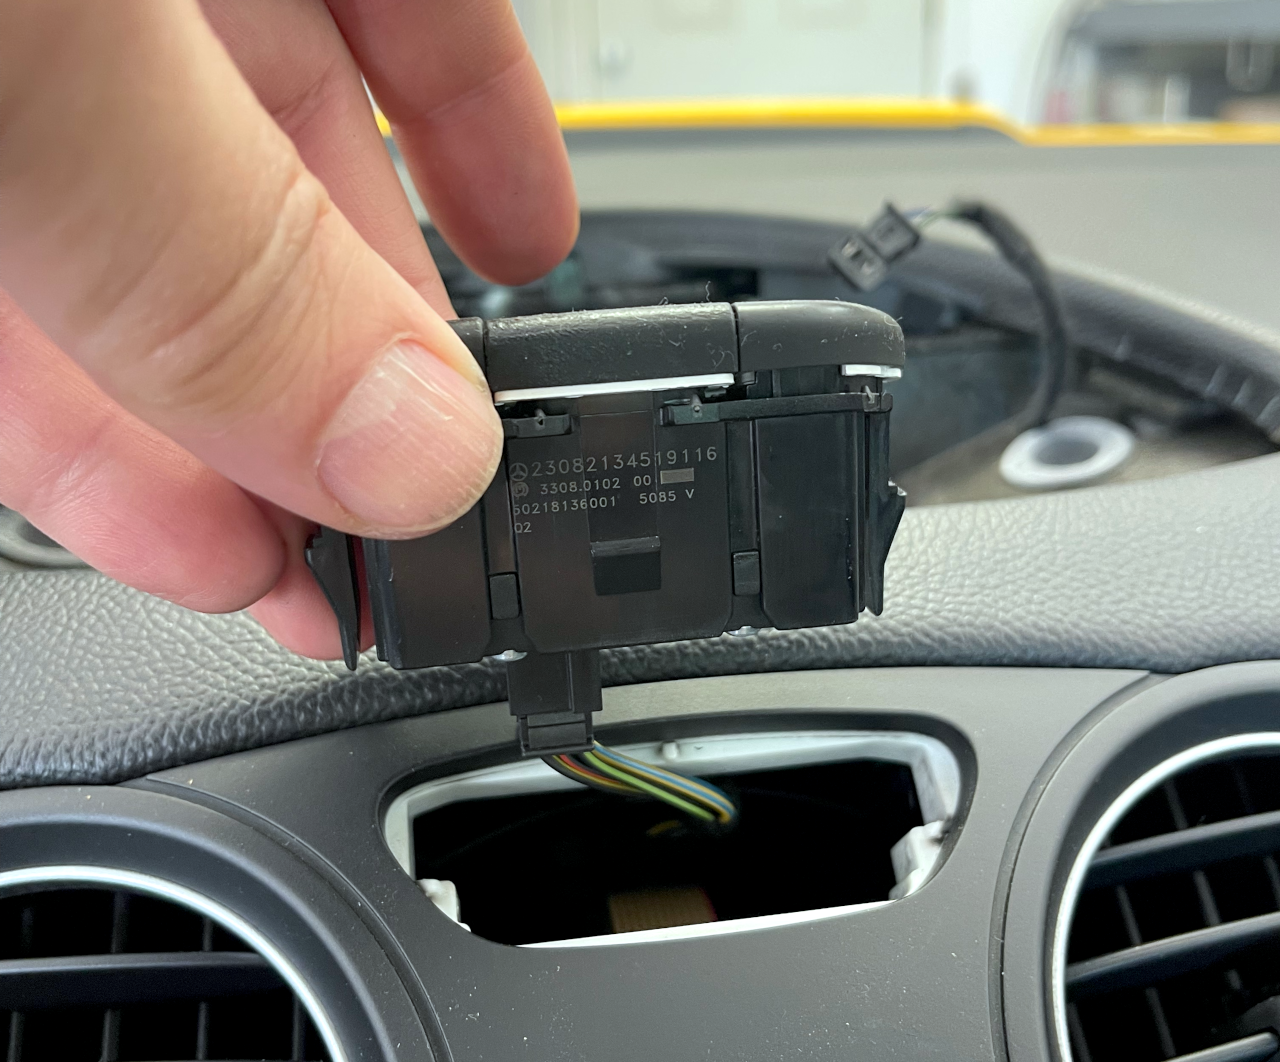
Then you take your new part:
 |
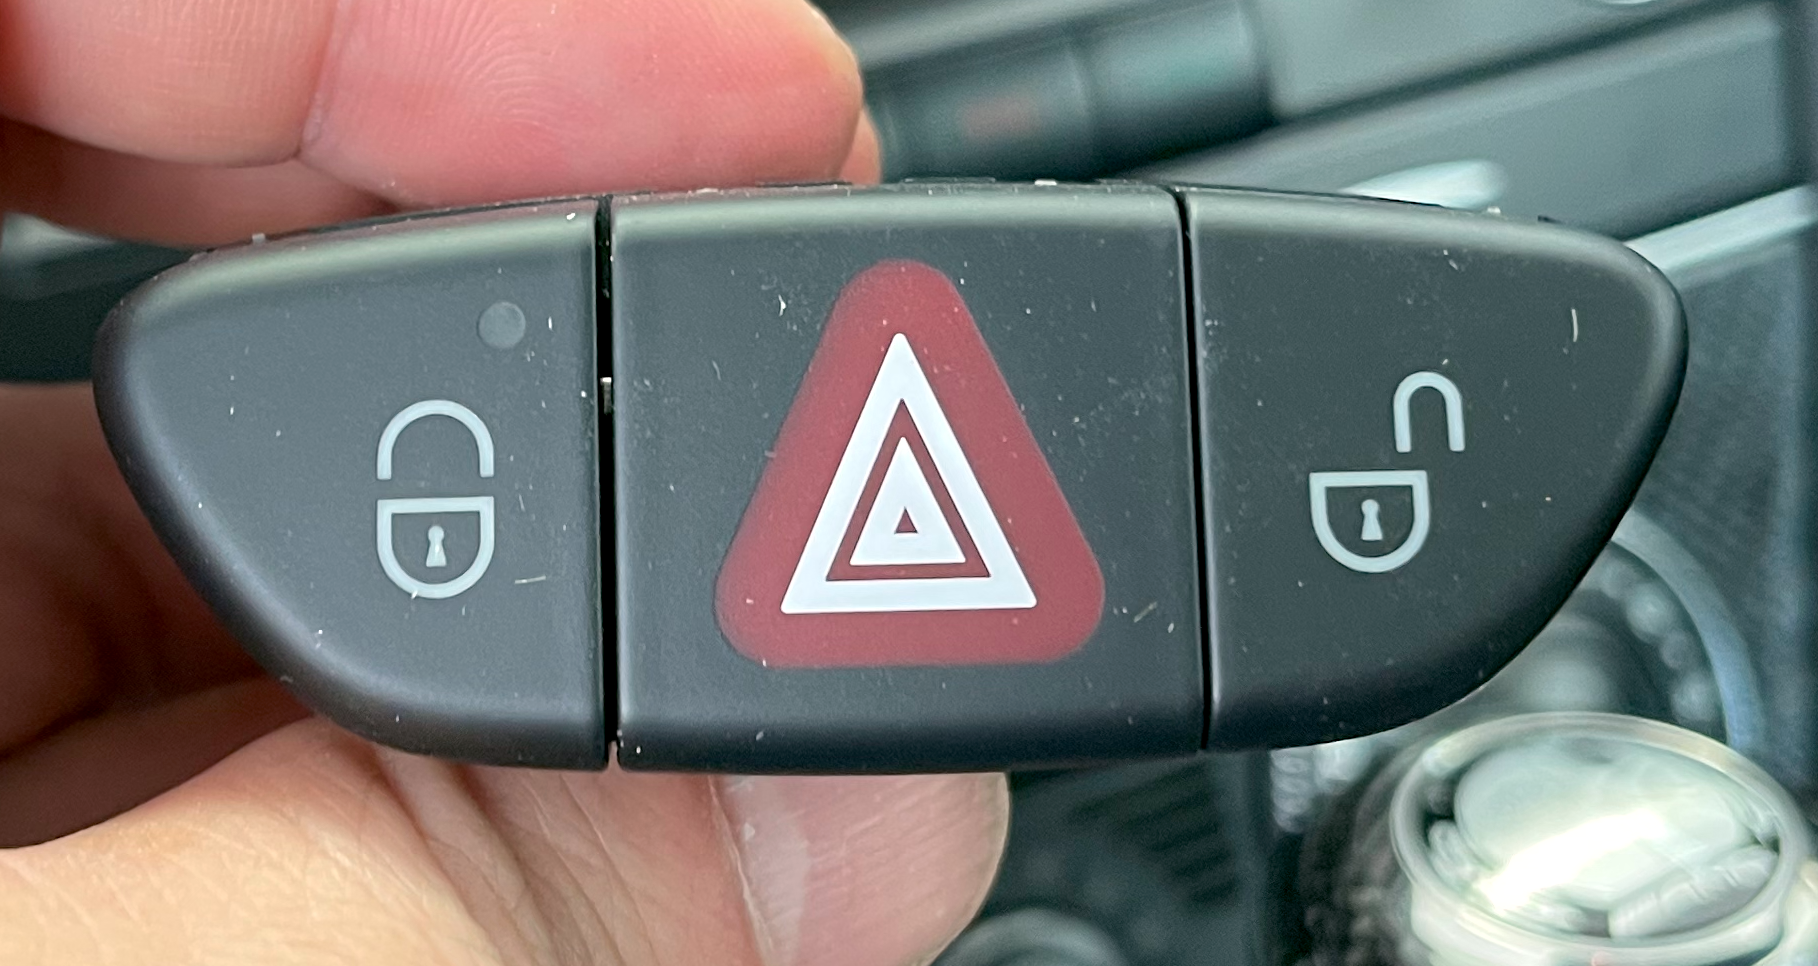 |
connect the cable and snap it back into place.
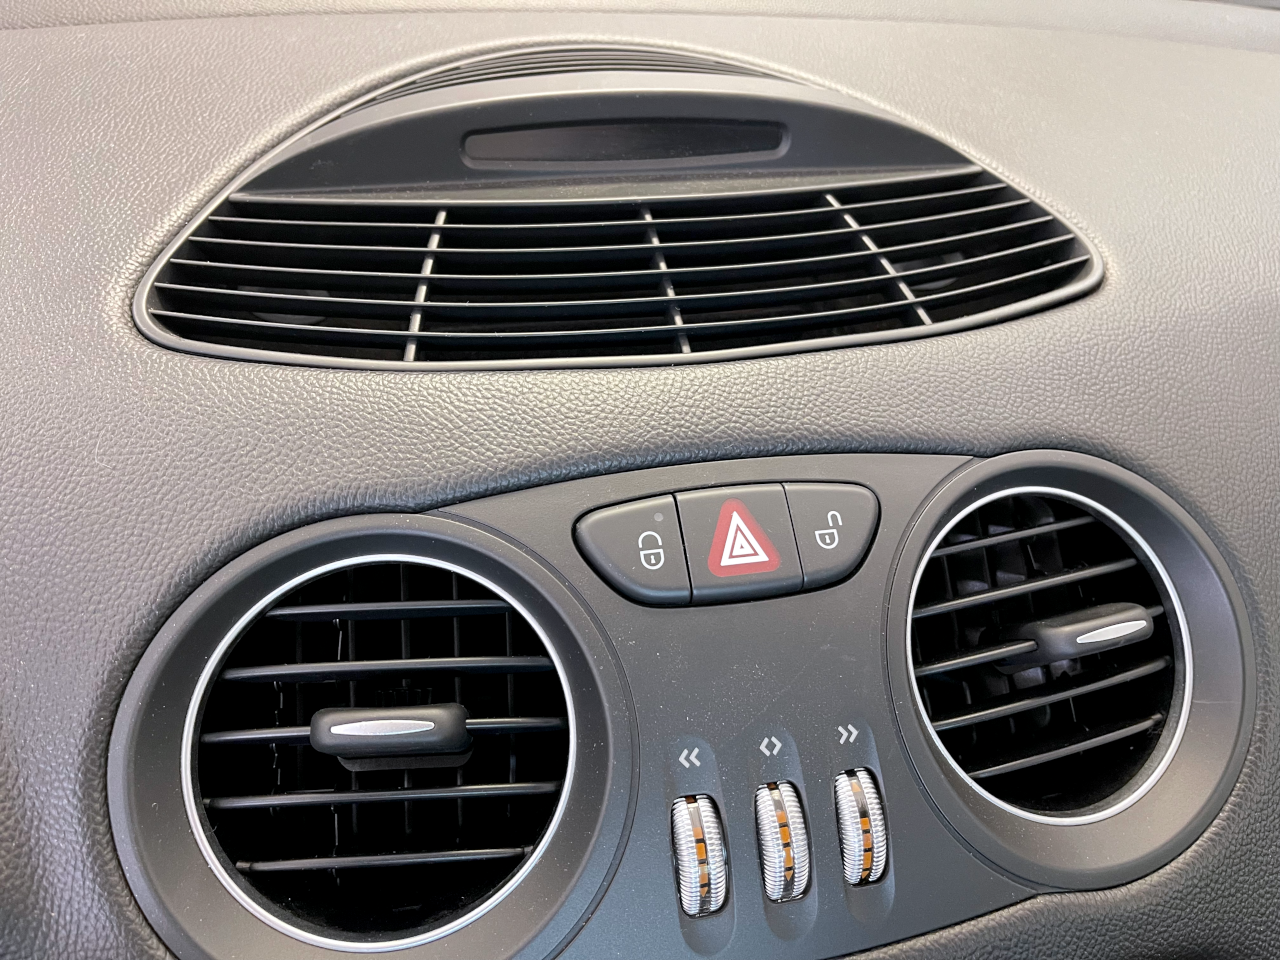
Replace the two screws you removed, reconnect the cable and then snap the dash vent back into place.
Easy-peasy.
Yes, this is a minor repair but I like the way the new switch looks. I’m getting closer to considering this car “done”. Let’s see how long that lasts.